This post may contain affiliate links. Please read our disclosure policy.
This Cherry Pie recipe is made with a delicious homemade cherry pie filling. It is an easy-to-make dessert that is perfect for entertaining or just when you are craving something sweet!
I love fresh fruit from the farmer’s market in the summer. There is just something about fresh fruit from the local farmer’s markets. I wish we could have that year-round where we live!

When making this pie recipe, I use tart (sour) cherries. Tart cherries work great for pie and jam recipes.
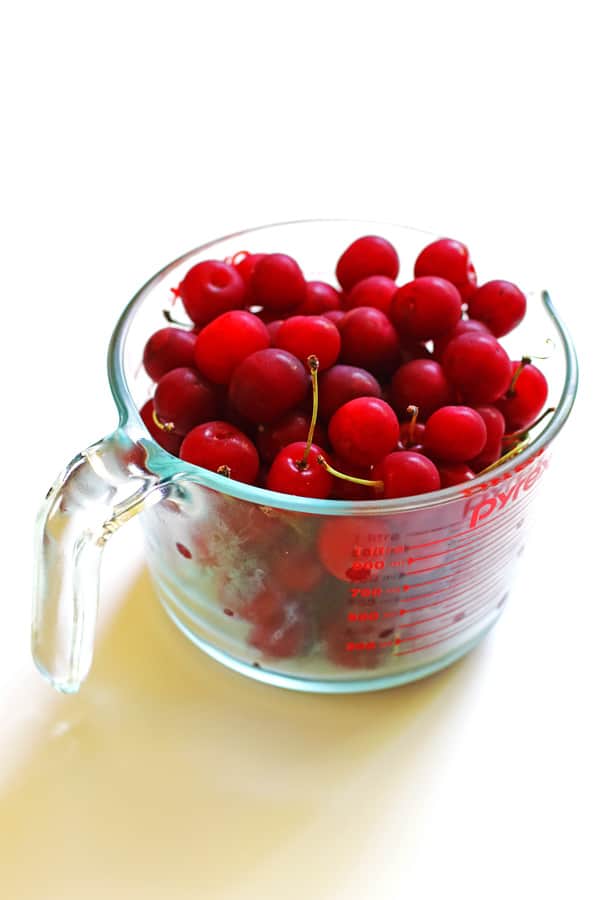
Besides the delicious flavor of tart cherries, did you know there are many health benefits to eating them? I recently found out I have arthritis in my neck and that cherries are great to help with arthritis and inflammatory conditions.
I plan on stocking up on tart cherries and freezing them so I can use them in smoothies over the winter!
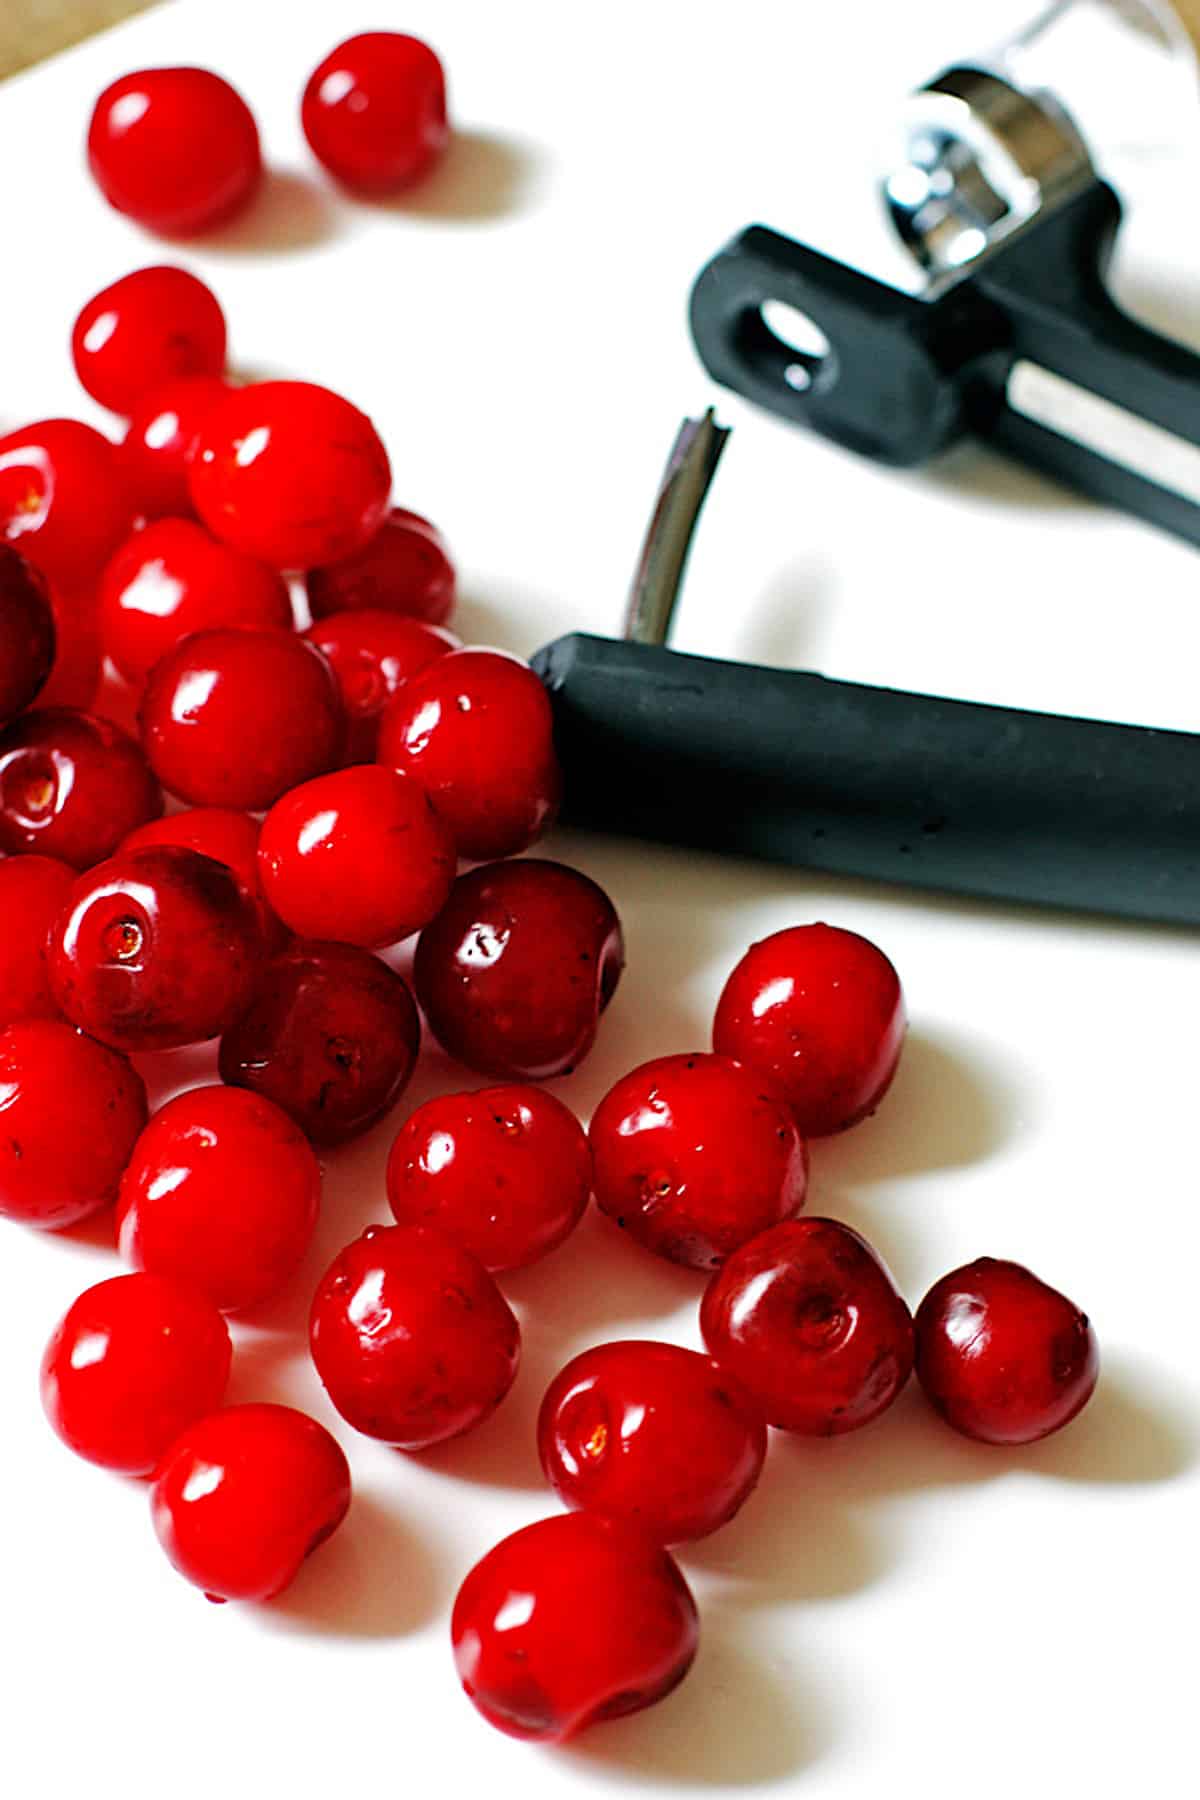
The cherries will need to be pitted before using them in the recipe. The easiest way to pit them is by using a good quality cherry pitter. You will have them pitted quickly by using that tool!
Grocery Shopping List:
- Tart (sour) cherries
- Granulated sugar
- Cornstarch
- Salt
- Two pie crusts
- Powdered sugar
You will need two pie crusts. One pie crust for the bottom of the pie and the other one to cut out designs to place on top of the pie. I usually buy the pie crusts (a great time saver!) but if you prefer to make them, here is a great recipe with lots of good advice on making a pie crust.
How to make Cherry Pie:
How to prep the cherries:
Wash the cherries. To do this, I just run them under warm water to rinse them off. Take off the stems while rinsing them. Place them on a paper towel to dry.
Next, pit the cherries. I highly recommend using a cherry pitter to do this job. If you are making this without a cherry pitter, then one way to pit them is to cut them in half with a paring knife and scoop out the pit with the knife. Discard the pits and set the cherries aside.
How to make the pie filling:
In a medium saucepan, combine the granulated sugar, cornstarch and salt. Add in the pitted cherries and stir until they are covered with the sugar mixture. Cover and let sit on your counter for 30 minutes.
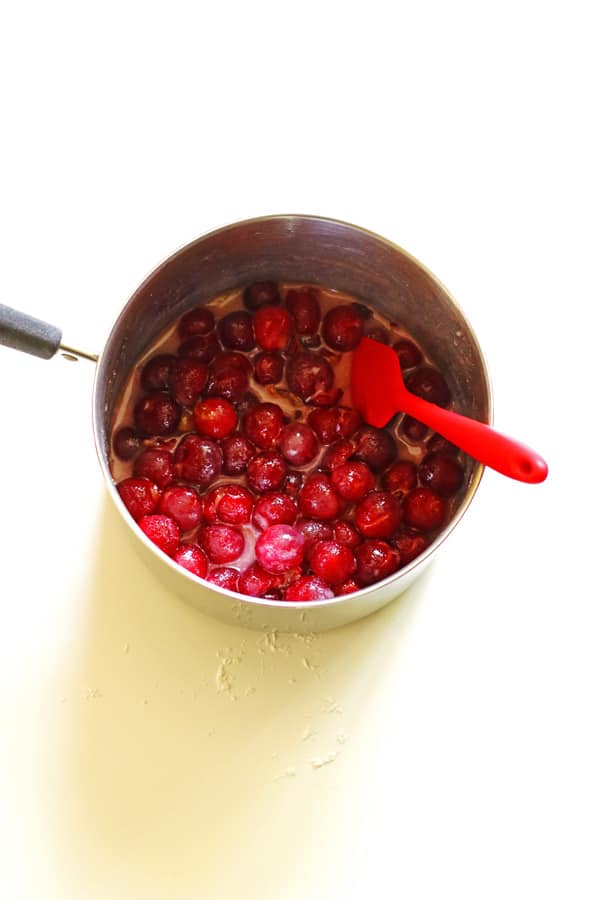
Next, cook the cherry mixture over medium heat on the stovetop until it boils and starts to thicken, stirring often. This will take about 20 minutes. It just needs to start to thicken up as it will thicken up more as it chills in the refrigerator.
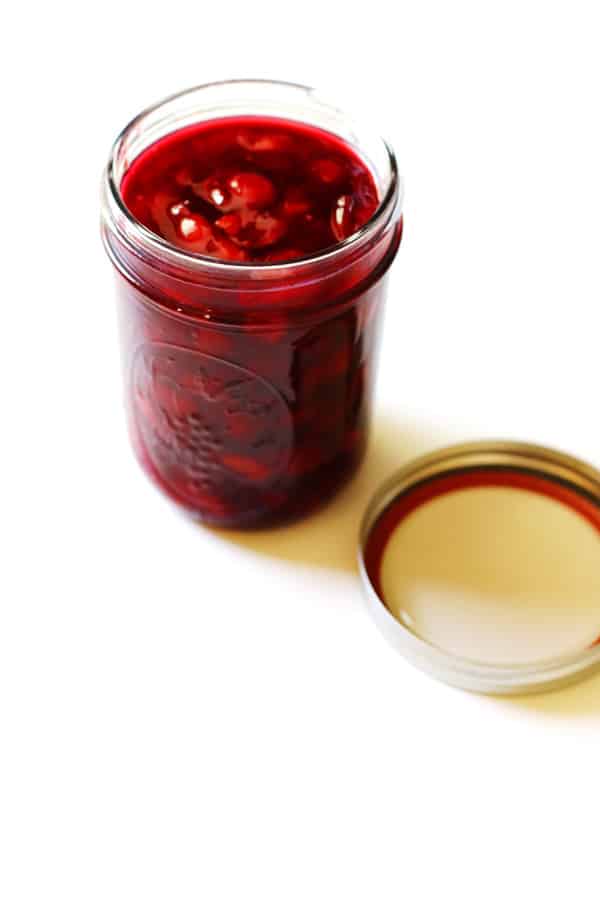
Pour the cherry mixture into canning jars or a bowl, leaving about 1/2″ space from the top. Cover and place in the refrigerator to cool for about 30 minutes.
How to make the pie crust hearts:
This step can be done while the cherry mixture is cooling down.
Preheat your oven to 375°F. Cover a baking sheet with parchment paper.
Recipe tip: Leave the pie crust you are using for the designs in your refrigerator until ready to use. It is best to have it cold when cutting out designs.
Place one of your pie crusts out flat on your counter. Use a heart cookie cutter to cut out as many hearts as you can. I used a cookie cutter that is about 3″ in size. You can use a heart or any cookie-cutter design you like.
Place the hearts on your prepared baking sheet with a 1-2″ in between them. Place them in the oven for 8-10 minutes.
Once the hearts are baked, sprinkle them with powdered sugar. For a fine sprinkling, use a fine mesh stainless steel strainer. It works like a charm!
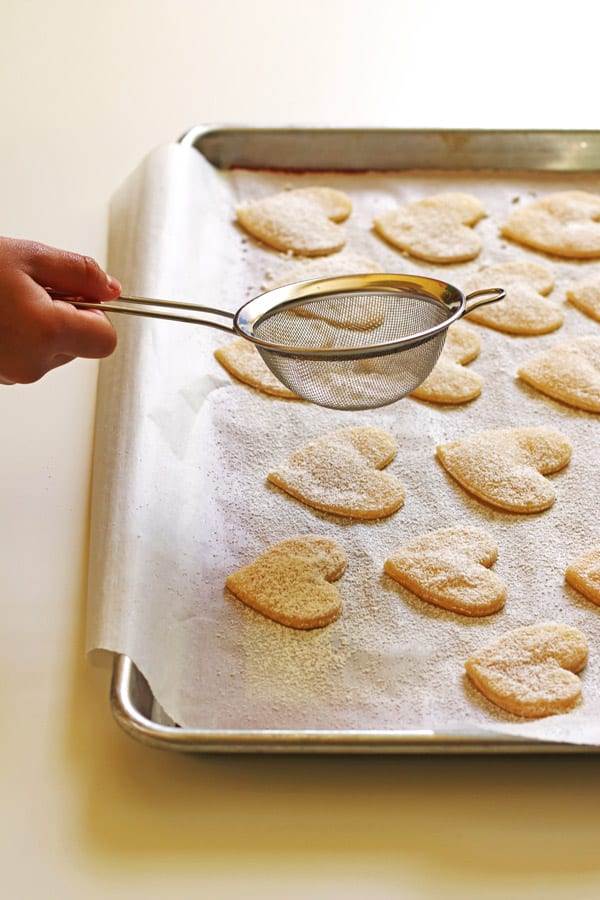
Sprinkling the hearts while they are warm and right out of the oven helps the sugar to stick to the pie crust. Let them cool before placing them on the pie.
How to assemble the pie:
Place one pie crust in the bottom of your pie dish. Gently press down the pie crust, so it fits in nicely.
Recipe Tip: You may want to take the pie crust for the bottom of the pie out for 10-15 minutes to soften up. Check the directions on the pie crust package before this step to be sure.
Add the pie filling and bake the pie in the middle of the oven at 375 degrees for 40-45 minutes, or until the crust is golden brown and the filling is bubbly.
Recipe tip: Tent some foil over the pie last 20 minutes to prevent the edges of the pie crust from burning. What is'”tent the foil'”? It means to fold a piece of foil in half the, then open it and place it like a tent over the pie.
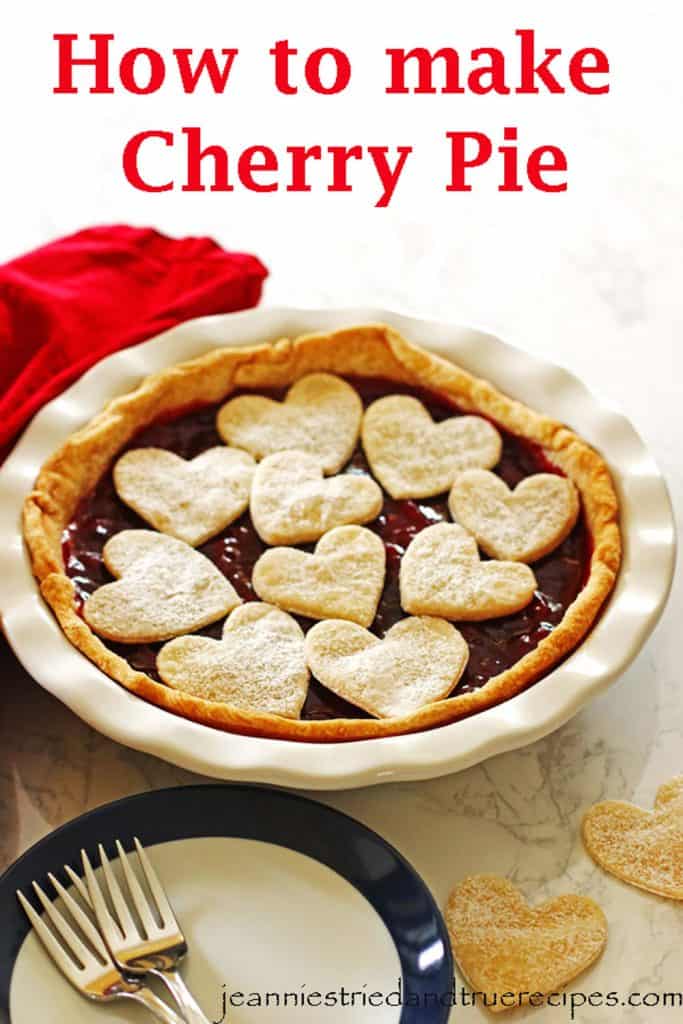
Once the pie is done baking, place it on a cooling rack. While the pie is cooling, add the hearts to the top of your pie.
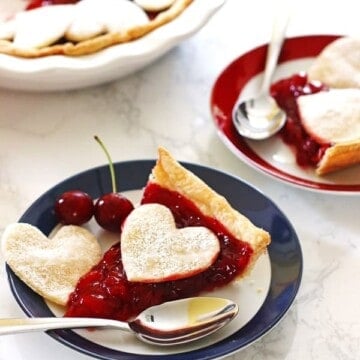
The pie can be served as is or with a scoop of vanilla ice cream on top. If you have extra hearts, add one or two on the side with each slice.

Recipe Tips
Using a cherry pitter to pit the cherries makes the job so much easier!
For the pie crust going on the bottom of your pie: You may want to take the pie crust out for 10-15 minutes to soften up before placing in the pie dish. Check the directions on the pie crust package before this step to be sure.
Tip for the pie Crust for heart designs: Leave the pie crust that will be used to cut out designs in your refrigerator until ready to use. It is best to have that one cold when cutting out designs.
When cooking the cherry mixture, it will not completely thicken. Cook it about 20 minutes or until you see it start to thicken. It will thicken more as it is cooled.
Make the pie crust hearts while the cherry mixture is cooling down to save on time.
Sprinkle the powdered sugar over the hearts while they are warm. This will help the sugar to stick better to them.
This pie can be stored covered at room temperature for up to 2 days. If you want it to last longer, store it covered in your refrigerator for up to 4 days.
How to get pie slices out of the baking dish easier?
Using a pie server will make getting that first piece of pie out so much easier!
Want another easy, delicious pie recipe?
Check out my Ice Cream Pie recipe! Perfect for an ice cream lover!
Want to stock up on cherries while they are farm fresh? Read below on how to freeze them.
How to Freeze Cherries
- Wash the cherries by rinsing them under warm water.
- Pit the cherries. Discard the pits.
- Cover a baking sheet with parchment paper.
- Place the cherries in a single layer on the covered baking sheet and place them in the freezer.
- Once frozen, put them in a freezer-safe bag or container.
- By doing this, the cherries won’t stick together, and it will be easier to take out how many you need when using them later for smoothies, etc.
Did you make this recipe? If so, please leave a comment and rating below. I love hearing from you.
Cherry Pie
Ingredients
- 1 ¼ cup granulated sugar
- 2 tablespoons cornstarch
- Dash of salt
- 4 cups pitted tart cherries
- 2 pie crusts store bought or your favorite homemade pie crust recipe
- powdered sugar to sprinkle over the hearts
Instructions
- First, rinse the cherries and take the stems off. Pit the cherries and discard the pits.4 cups pitted tart cherries
- In a medium saucepan, combine the granulated sugar, cornstarch, and salt. Add in the pitted cherries and stir until they are covered with the sugar mixture. Cover and let it sit for 30 minutes.1 ¼ cup granulated sugar, 2 tablespoons cornstarch, Dash of salt, 4 cups pitted tart cherries
- Cook the cherry mixture over medium heat until it boils and starts to thicken, stirring often. This will take about 20 minutes.
- Pour into canning jars or a covered bowl, leaving ½ inch space from the top. Cover and refrigerate to cool (about 30 minutes).
- Preheat your oven to 375°F. Cover your baking sheet with parchment paper.
- While the cherry mixture is cooling, roll out one of the pie crusts and cut out the heart shapes. Place them on the baking sheet about 1-2" apart from each other. Bake them for 8-10 minutes.2 pie crusts
- Sprinkle powdered sugar over the hearts while they are still warm. Let them cool on the baking sheet.powdered sugar
- Place the other pie crust into the pie dish, gently pressing the pie crust to fit the dish. Flute the edges of the pie crust, optional. Pour the pie filling into the pie crust and spread out evenly. Bake 40-45 minutes or until the crust is golden brown and the filling is bubbly. Cover the pie with foil for the last 20 minutes so the edges of the crust does not burn.
- Once the pie has slightly cooled, place the hearts on top of the pie.
- Serve as is or with a scoop of vanilla ice cream on top.
Notes
Special Equipment Needeed
- pie pan
- cookie cutters
Nutrition information is approximate and is automatically calculated, so should only be used as a guide.
This post is not sponsored, but you will find affiliate links on this page. The price you pay as a consumer does not change, but I may make a small commission based on your purchase.
Update Note: This recipe was originally posted earlier in 2016, but was published again in 2020 to include step by step directions and new photos.




This looks so pretty Jeannie! Will be making it this weekend!
Thanks Chrissy! Hope you love it!
Jeannie
Great recipe! I love the combo of the cherry juiciness and the cookies. I wonder… would you be able to switch out the cherries with blueberries or other fruits?
This cherry pie was so easy to make but tasted like it was from my local bakery. Simple yet delicious!! I love your tip for sprinkling the powder sugar on top.
Yes, simple is the way to go! Thanks Elle!
Jeannie