This post may contain affiliate links. Please read our disclosure policy.
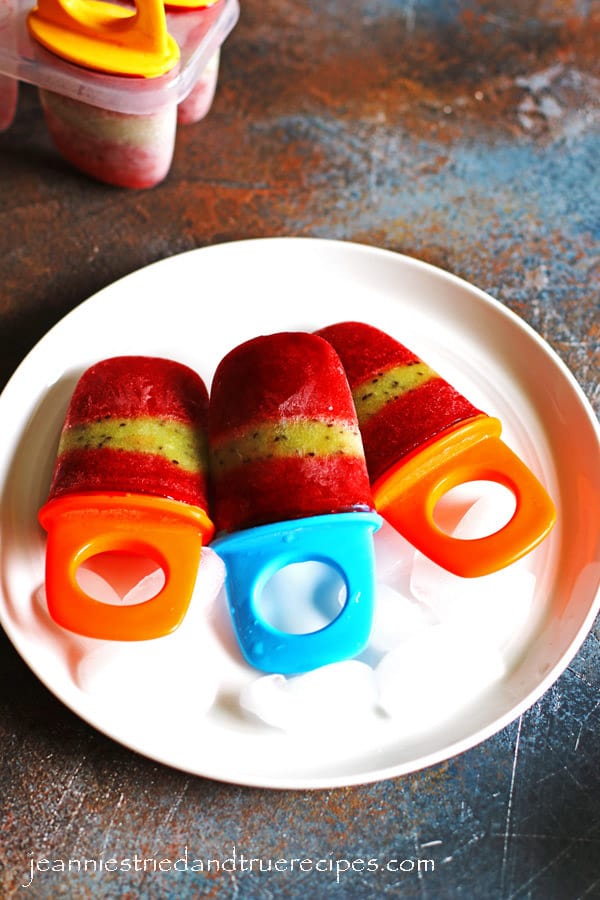
These delicious and refreshing Fruit Popsicles are perfect for warm summer days! These popsicles are made with fresh strawberries and kiwi, two fruits that go perfectly together.
These popsicles are great for a hot summer day and also great to serve at a pool party or barbecue! Not only are these Fruit Popsicles delicious, but they are good for you too!
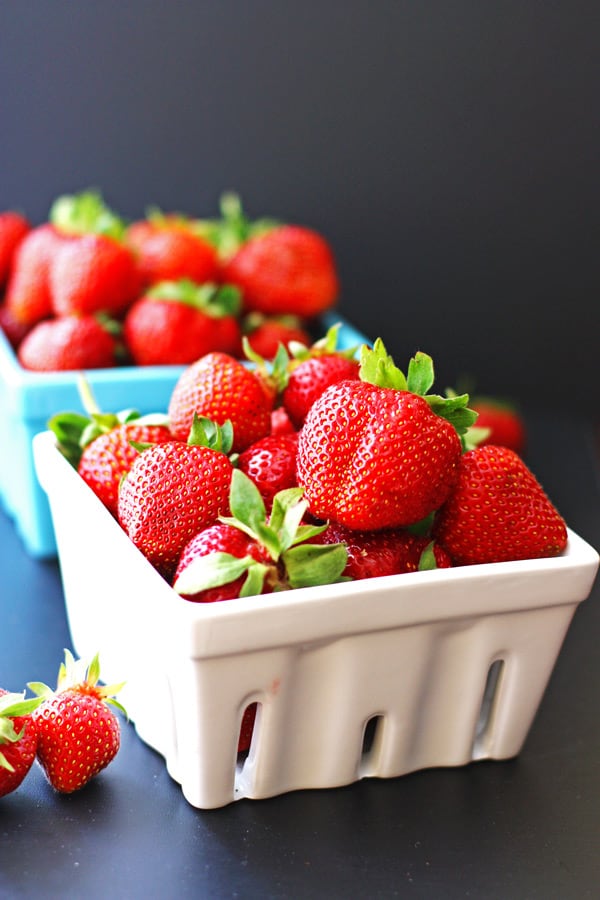
Some benefits of strawberries are that they are a good source of Vitamin C and potassium as well as high in antioxidants.
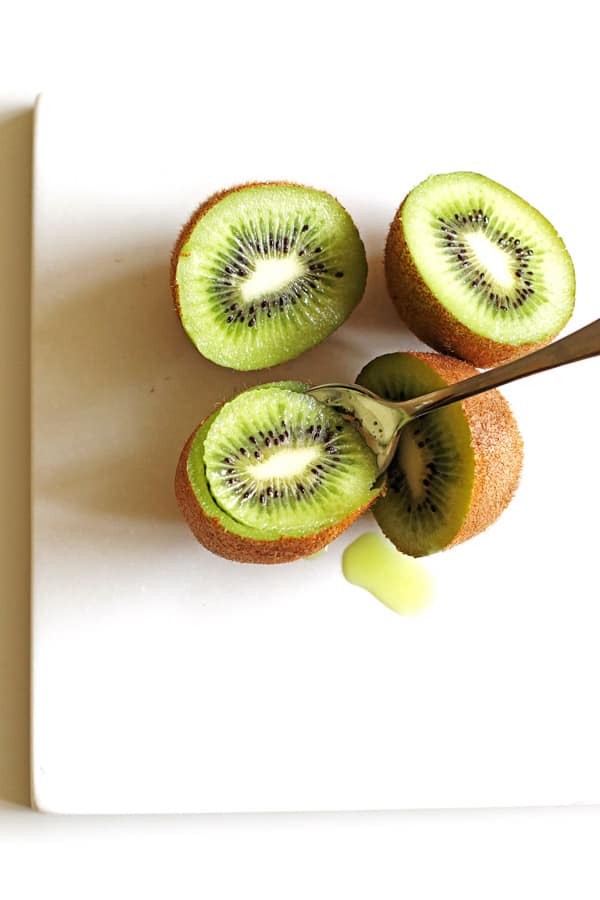
Benefits of eating kiwi include being a good source of fiber and full of nutrients like Vitamins C and E and potassium. Like strawberries, kiwi are high in antioxidants.
My daughter was the one to come up with this recipe idea. We were out for a walk, talking about summer and making popsicles. We had made Blueberry Lemon Popsicles and were thinking of what new flavors we could try.
I mentioned mixing strawberries and kiwis together. She liked the idea but also wanted them to look pretty and she suggested adding strawberry, kiwi and then strawberry again.
They might take a little longer to make them looking fun and festive, but it’s worth it! And I bet your kids will love it just as much as my little girl does. This would be a fun summer project to do together.
Why making popsicles is better than buying them at the store:
- These fruit popsicles are made with only three ingredients which is less than most store bought popsicles.
- This recipe uses just a small amount of added sugar.
- Making homemade popsicles is a fun summer project to do with your kids, grandchildren, etc.
- You know exactly what goes into them.
How to make these Fruit Popsicles:
Start by washing your strawberries and discarding the stems. Pat them dry or let them sit on a paper towel to dry.
Then slice up the strawberries and measure out two cups before you puree them. We have a Ninja Master Prep Blender which works great for this recipe because it comes with a bigger sized blender compartment and a smaller one too so you can use one for each fruit.
Place your strawberries and 2 tablespoons sugar in the blender and puree until you don’t see any large pieces of strawberries. Set that aside.
Wash the kiwi and pat dry. Cut the kiwi in half and then scoop out the green part of the fruit using a spoon. Discard the skin of the kiwi.
If you have two blender compartments, use the second one for the kiwi or just wash your blender between pureeing each fruit so it is clean and you don’t mix the strawberries with the kiwis.
Then place the kiwi (just the green part of the kiwi) and one tablespoon sugar in the blender and puree. Puree until there are no large pieces of kiwi in the blender.
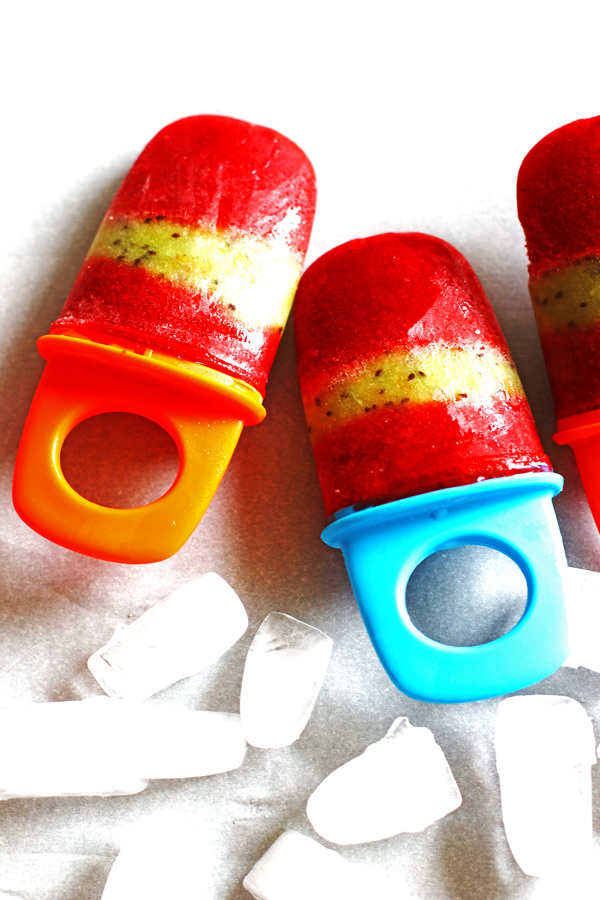
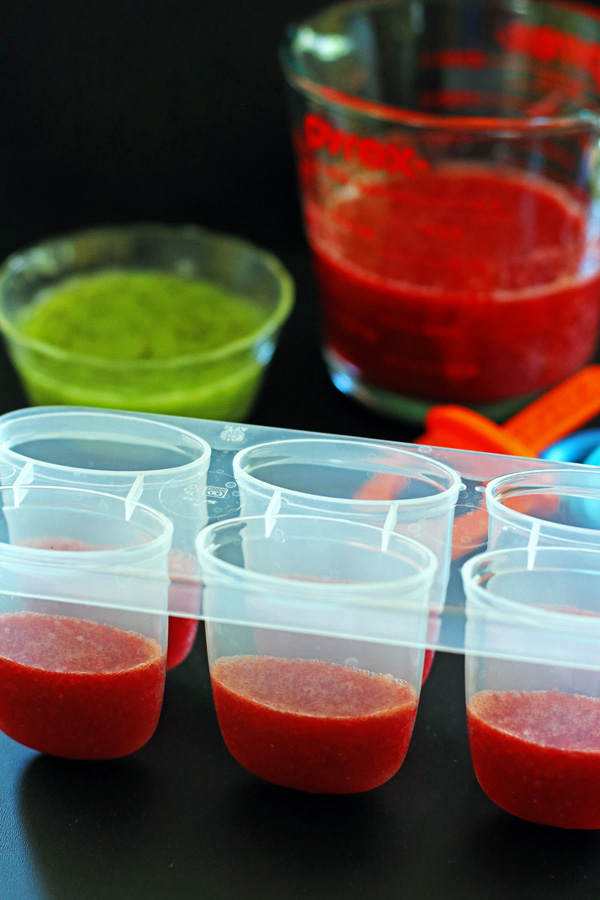
Pour the strawberry puree into the popsicle mold until just below half way. Then place in your freezer for 30 minutes, making sure to place it in there straight.
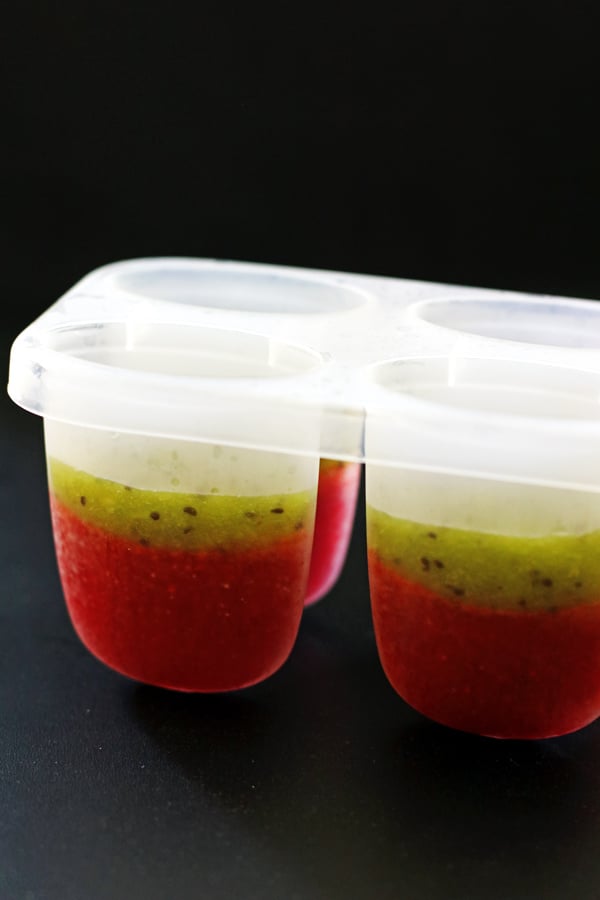
Then pour in the kiwi puree so it makes a nice stripe across. We made ours to be about a half to one inch stripe. Place them back into the freezer for 20-30 minutes.
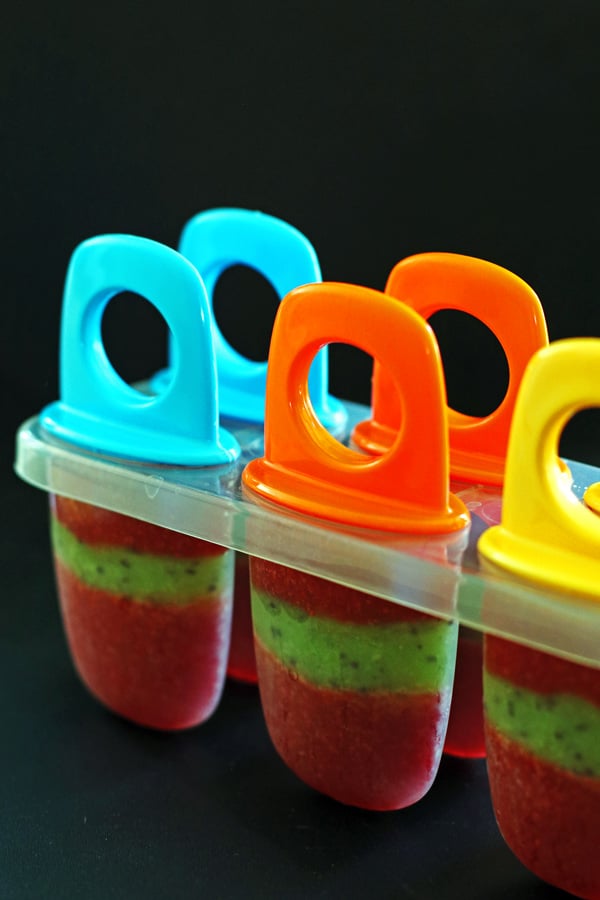
The final step is to fill the popsicle mold to the top line of your mold with the strawberry puree. Place the top of the mold on and freeze for 4-6 hours to set.
If you have extra puree, you can pour any extra into another popsicle mold you have or use a plastic cup and add popsicle sticks. If you are using popsicle sticks, add them about halfway through freezing time.
Another option is to just drink the extra without freezing it…a little bonus for the maker of popsicles!
We add a little bit of sugar to them to make them a little sweeter. We tried them with just berries and kiwi first and they just were not sweet enough for us. So we decided to add some sugar and really liked them better that way.
How many popsicles does the recipe make? This depends on the size of your popsicle molds that you use. The one I used for this recipe and the photos you see here in my post measure about ¼ cup and we were able to fill all six molds…with just a little extra.
It really is fun to homemade popsicles! Here are some great tips for making popsicles.
These Fruit Popsicles only have three ingredients and you know what is going in them…unlike many of the store bought ones. That is a bonus right there to make homemade popsicles!
How to get the popsicles out of the molds:
A tip to getting them out of the popsicle mold easier is to run hot water over the mold for about 10-15 seconds. Gently pull the popsicles out of the mold.
If you have any extra popsicles, put them back in the freezer until next time you are craving a delicious and healthy homemade popsicle.
Recipe Tips:
Use separate blender containers for each fruit so you don’t mix the strawberries and kiwi together. This way the colors won’t blend together. If you don’t have two containers, then wash the blender between doing the strawberries and kiwi.
Use a pyrex measuring container or pitcher with a spout to make pouring easier. This also helps with fewer spills and mess to clean up.
Hope you enjoy them as much as we do! If you make them I would love to hear from you by leaving a comment and rating below. Thanks!

Fruit Popsicles
Ingredients
- 2 cups strawberries sliced
- 2 kiwis
- 3 tablespoons granulated sugar divided
Instructions
- Wash strawberries and discard stems. Slice them and measure out two cups.
- Place the strawberries and two tablespoons of sugar in your blender and puree. Set aside.2 cups strawberries, 3 tablespoons granulated sugar
- Slice the kiwi in half and scoop out the green part of the kiwi with a spoon. Puree the kiwi with one tablespoon of sugar.2 kiwis, 3 tablespoons granulated sugar
- Pour in strawberry puree to just below the half point of your popsicle mold. Place the puree in the freezer for 30 minutes. Make sure it is placed in the freezer straight.
- Then pour in the kiwi puree so it makes a nice stripe across (about a half inch to one inch). Place back into the freezer for 20-30 minutes. Again, make sure it is in there straight.
- Finally, fill the popsicle molds to the top line with more of the strawberry puree. Place the top of the mold on and freeze them for 4-6 hours.
- Freeze any unused popsicles.
Notes
Special Equipment Needeed
- popsicle molds with handles
Nutrition information is approximate and is automatically calculated, so should only be used as a guide.
Update Note: This recipe was originally posted in 2018, but was published again in 2019 to include step by step directions and new photos.


We made these as a fun summer project. My kids liked helping out and they were delicious! Also very pretty!
Sounds like fun Julie!