This post may contain affiliate links. Please read our disclosure policy.
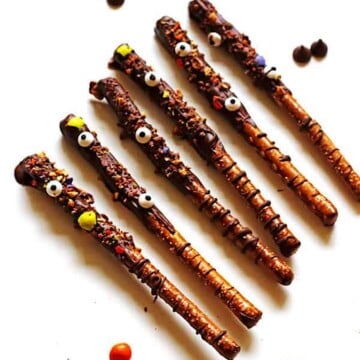
Chocolate Covered Pretzel Rods are the perfect sweet and salty snack. This is also a great recipe to use up some of your Halloween candy!
Quick and Easy Chocolate Covered Pretzel Rods are easy and fun to make and are a great treat to make with kids.
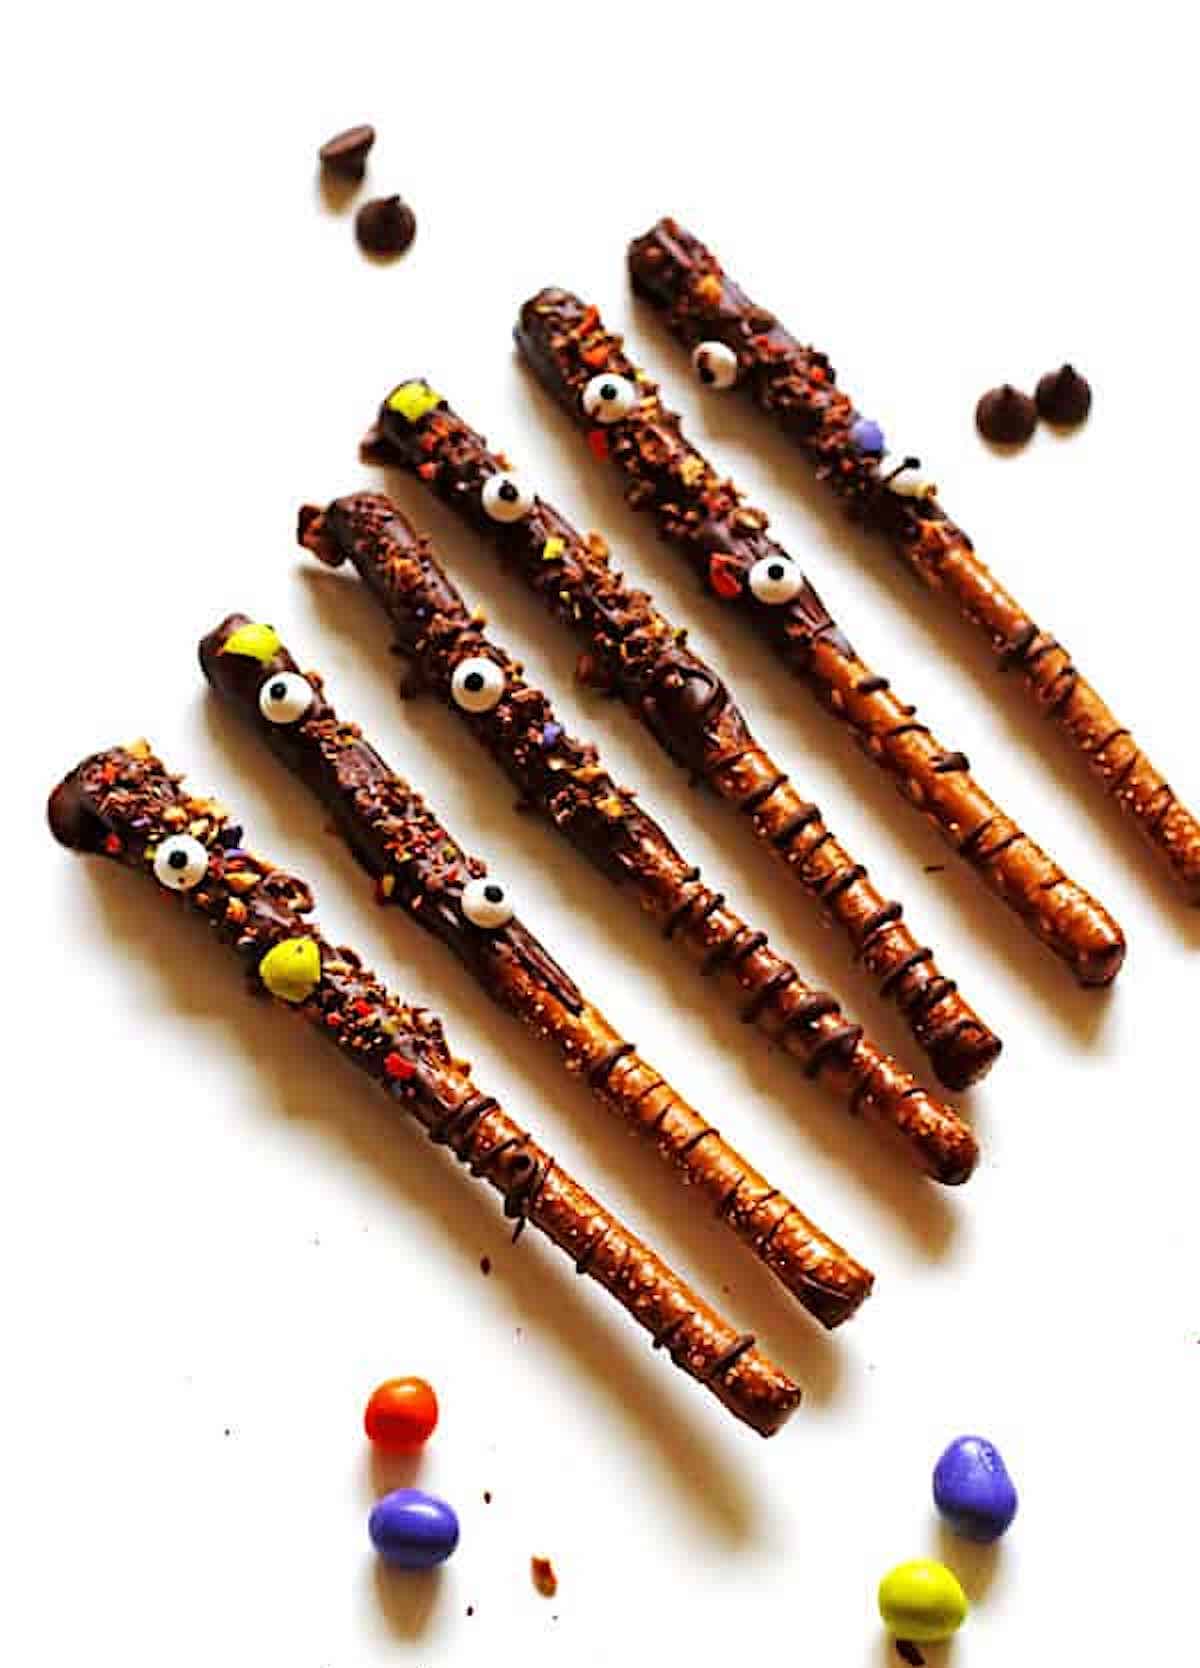
I don’t know about you, but we often have extra Halloween candy in our house. Whether it is all the candy the kids bring home after trick or treating or the extra candy because we buy too much…there is usually some extra candy.
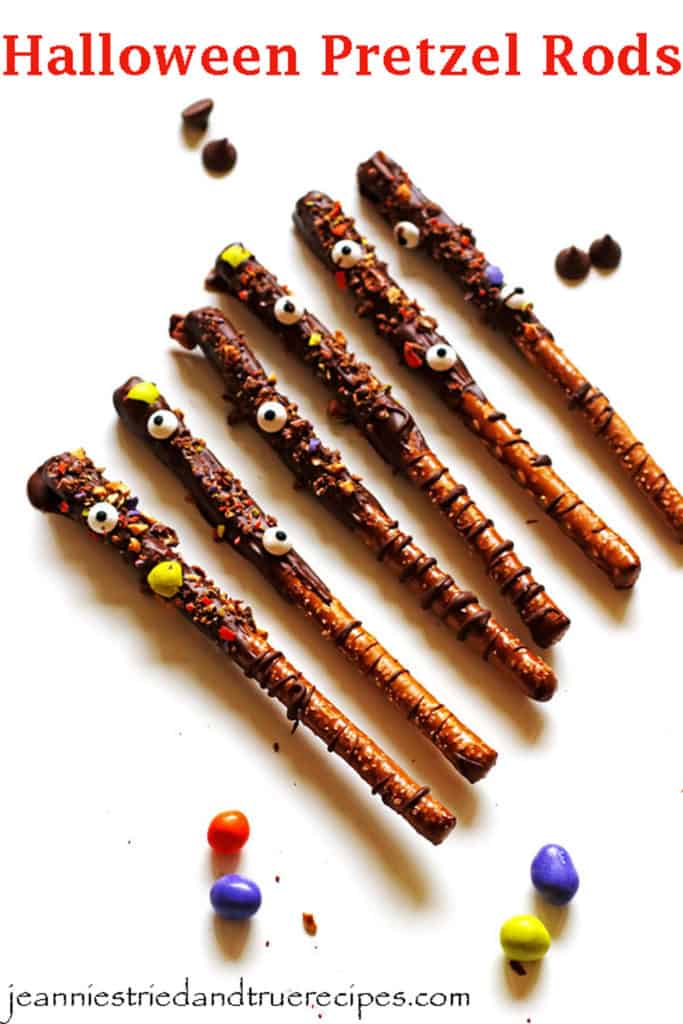
This Chocolate Covered Pretzel Rods Recipe is great for using up some of that extra candy. (Or, you can make them before Halloween, too! Add some candy eyes, and they become spooky treats!)
Ingredients in this Pretzel Rods Recipe
- Pretzel Rods
- Chocolate for Dipping – I use a Baker’s Semi-Sweet Chocolate Bar, but you can also use semi-sweet chocolate chips, white chocolate chips, dark chocolate, or milk chocolate chips.
- Candy for Decorating – Candy that works best are M&M’s, Butterfingers, Reese’s Pieces, Heath Bar bars, or even sprinkles.
- For Halloween Treats – Candy Eyes and Purple, Orange, Green, and White Sprinkles
What Type of Chocolate is Best?
I like to use Baker’s Semi-Sweet Baking Bars instead of chocolate chips. It is not only a higher quality chocolate, but it also makes this recipe easier!
Why use chocolate baking bars over chocolate chips for this recipe?
- The chocolate bars do not harden as quickly as chocolate chips. You will have more time to work with the chocolate.
- The chocolate bars also have a thinner consistency, which is nice for dipping the pretzels.
Pretzel Sticks or Pretzel Rods?
You’ll want to use full-size pretzel rods for this recipe, not the small sticks.
How to Make Chocolate Covered Pretzel Rods
These Chocolate Covered Pretzel Rods are quick and easy to make for Halloween but can be used for any time of the year.
How to Prepare the Candy
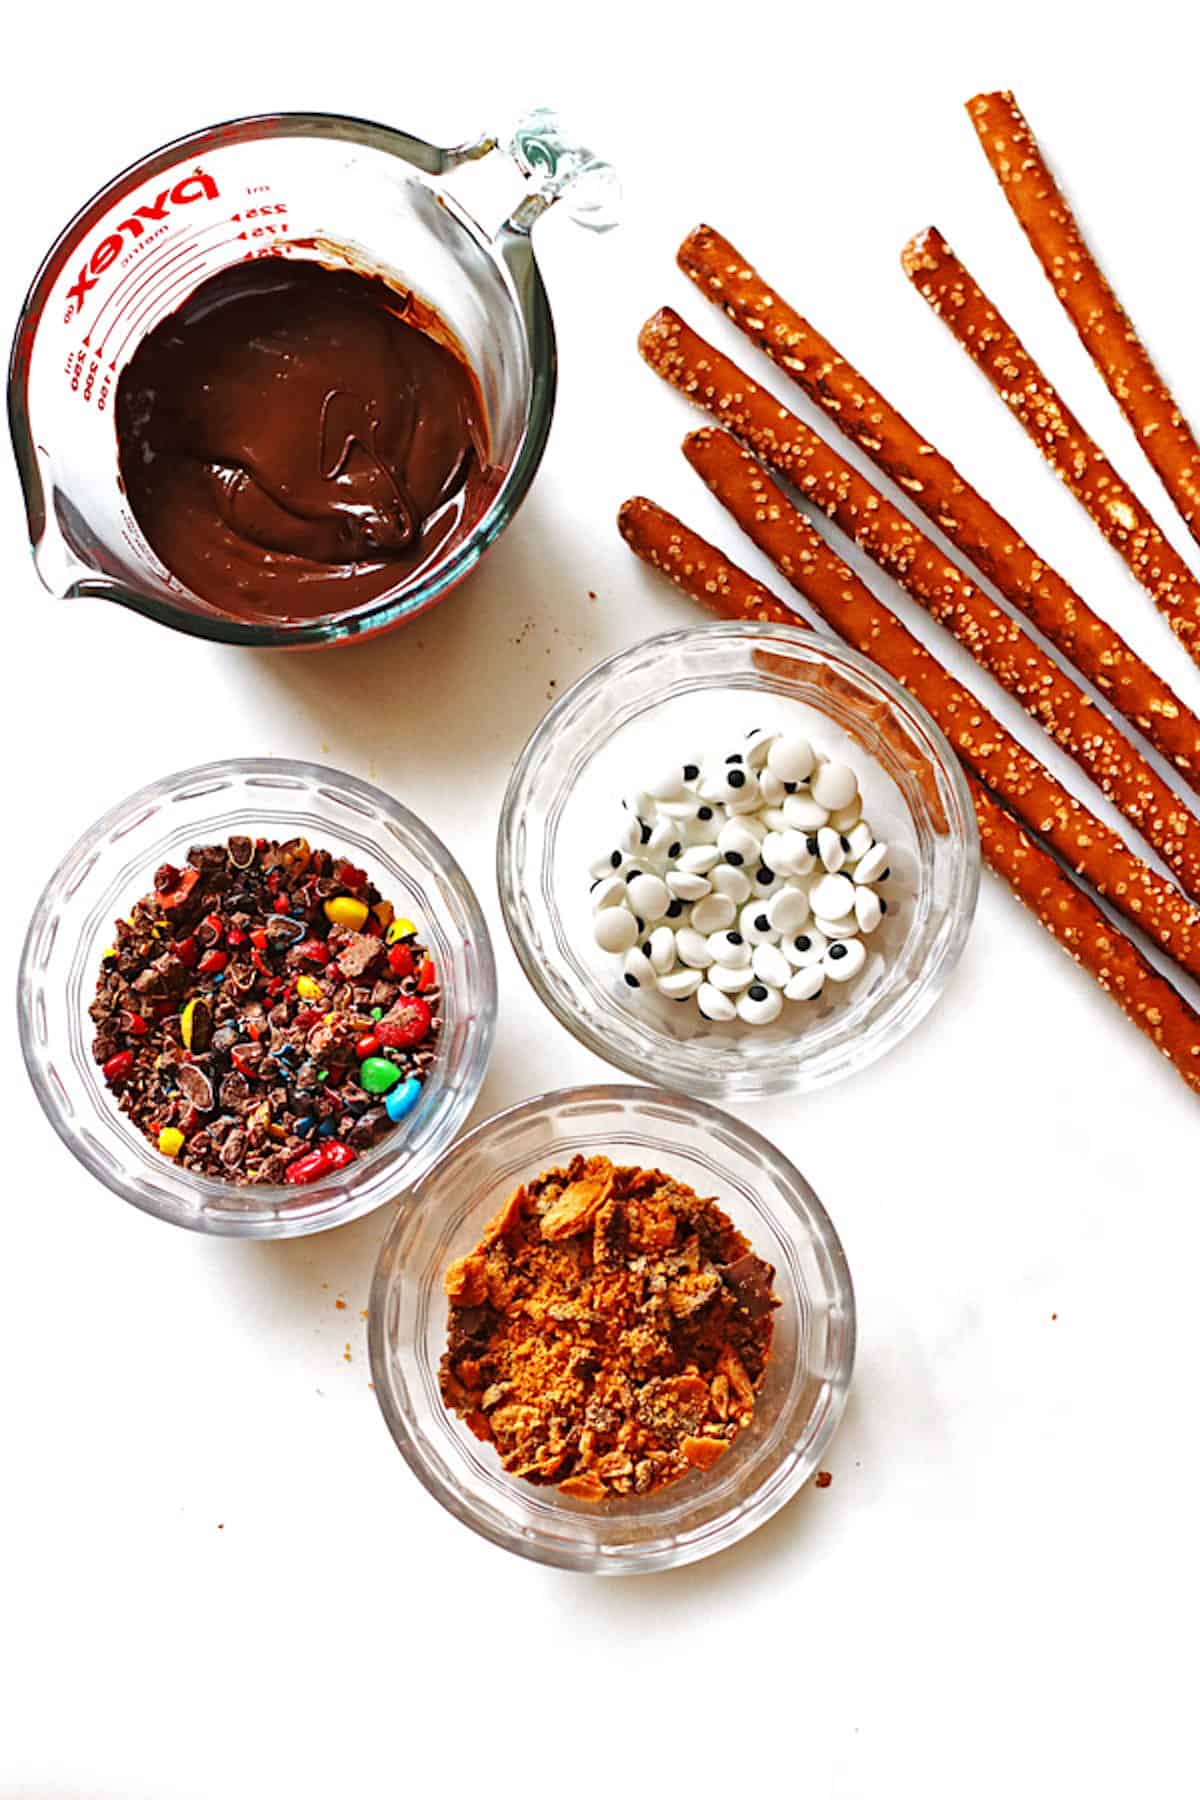
Crush up the candy before melting the chocolate. It is best to have all the ingredients ready to go. You want the candy ready before the chocolate sets so the candy will stick to the melted chocolate.
The candy should be coarsely chopped, not finely chopped. To get the candy crushed like this, use the back of a ladle or large spoon and gently push down on them, doing just a small amount of candy at a time. (You can also put the candy in a plastic bag and roll over it with a rolling pin.)
I would not recommend using a food processor or blender to crush the candy. I have tried that, and when I did, the candy became too fine.
Crush the candy and set that to the side until you have the chocolate melted.
How to Melt the Chocolate
Break the chocolate bar into pieces and place the chopped chocolate in a microwave-safe bowl.
Place the chocolate in the microwave, heat it for 30 seconds, then stir it. Stirring the chocolate helps it to melt more quickly. If all the chocolate is not melted, heat for additional 15-second increments, stirring after each one, until all of the chocolate is melted and smooth.
Don’t have Bakers chocolate bar?
You can use chocolate chips for this recipe. I just wanted to share what I find works best from my experience. If you are using chocolate chips, melt them the same way. You will need to work quickly, though, as the melted chocolate chips harden quickly. (Adding a spoonful of coconut oil to the chocolate chips will help the chocolate maintain a thin, dippable consistency for longer.)
Once the chocolate is melted, pour it into a tall, narrow dipping dish like a Pyrex glass measuring cup or a coffee mug.
How to Decorate the Pretzels
Cover a baking pan with a sheet of parchment paper. It is also a good idea to cover your work area with parchment paper to catch the extra candy pieces and melted chocolate. Parchment paper is great to use for easy cleanup.
Dip each pretzel rod into the melted chocolate. It helps to tip the container to the side a little to get more chocolate on your pretzel. Twist the pretzel into the chocolate as you dip it, and gently tap off any excess chocolate. (You can allow the excess to drip for a few seconds.) You can also use a spoon to spread the chocolate all around the pretzel rod.
Hold the chocolate-covered pretzel rod over your covered working area.
Sprinkle your crushed candy over the melted chocolate. Turn the pretzel rod as you are doing this so that you get all the sides. If you’re using the candy eyes, gently press them onto the melted chocolate.
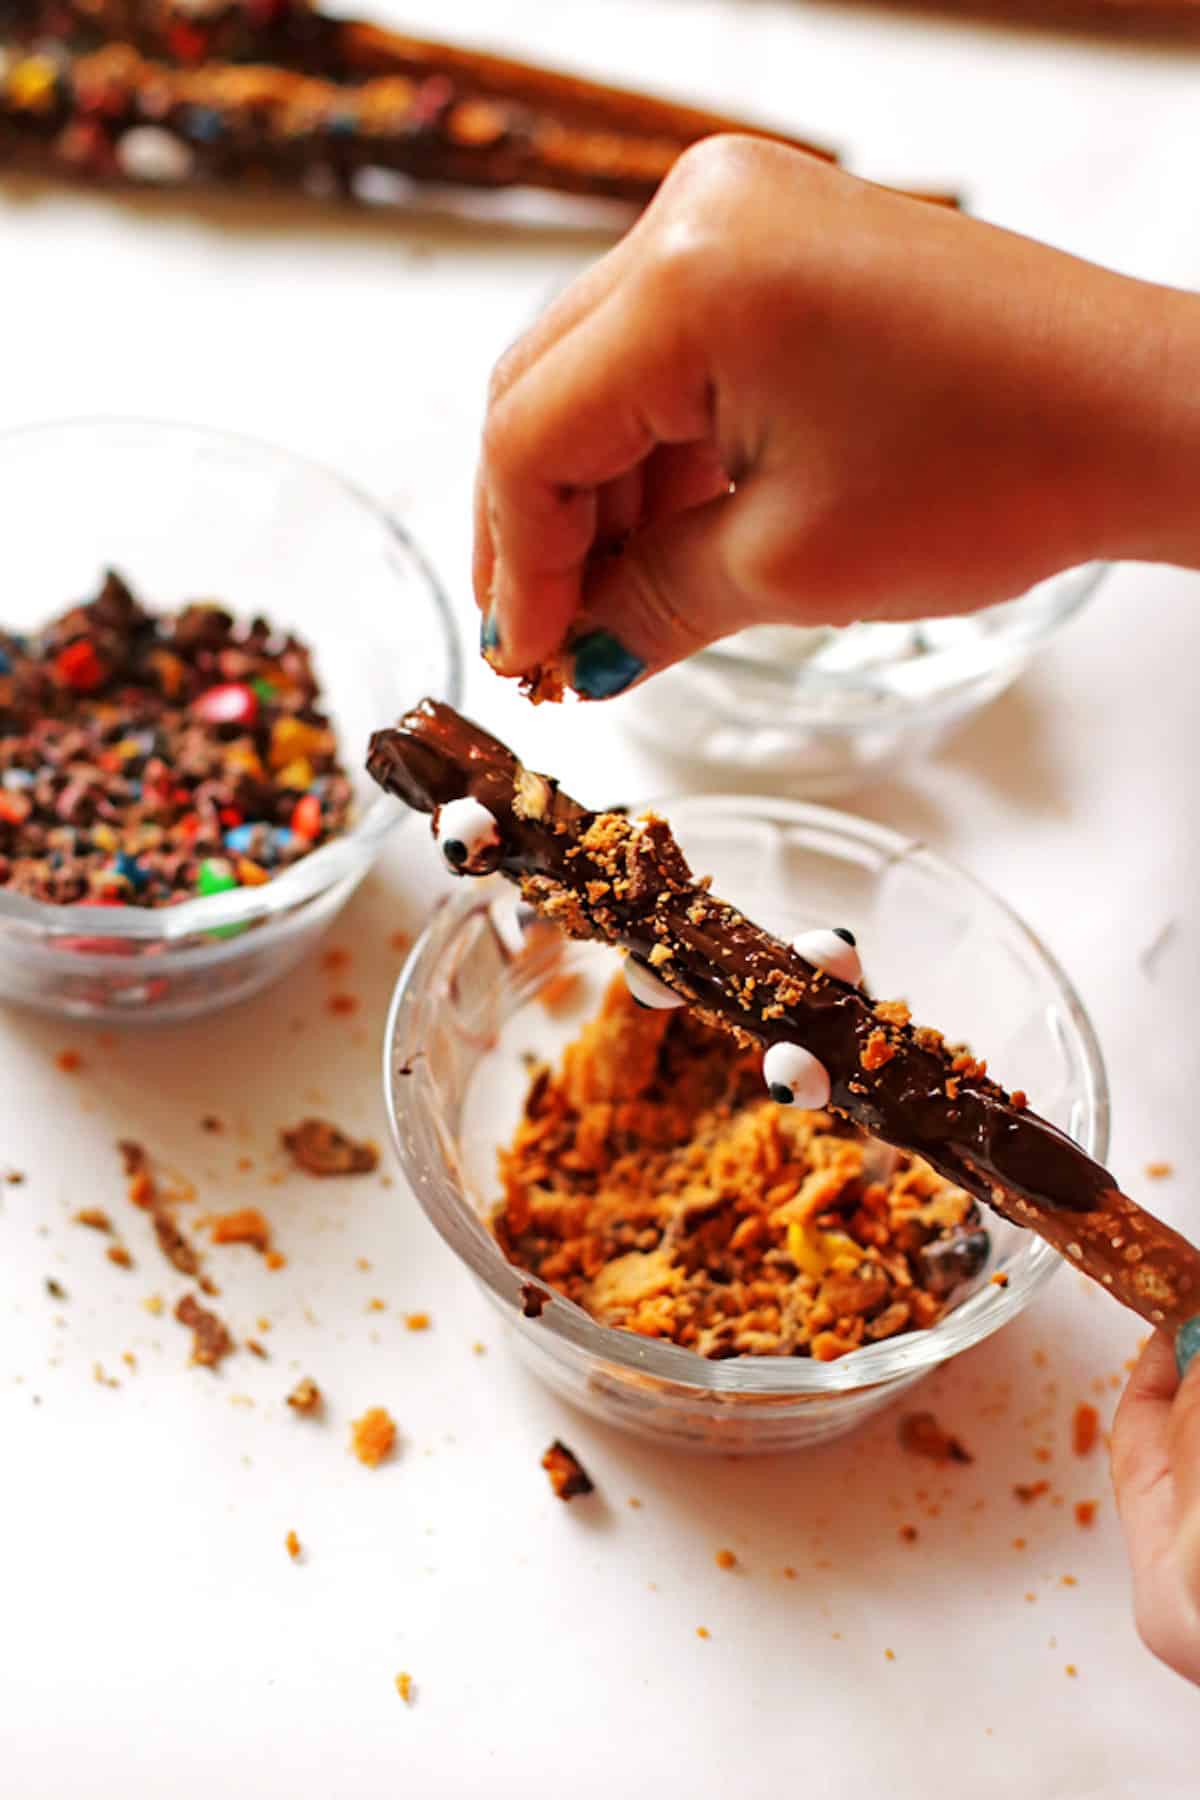
Place the pretzels on the parchment-lined baking sheet and place them in the refrigerator so that the chocolate can set. Allow the chocolate to cool completely. This usually takes about an hour.
If desired, you can melt some white chocolate and then pour the melted chocolate into a piping bag. Use the piping bag to drizzle chocolate over the dipped pretzel rods that are resting on the parchment.
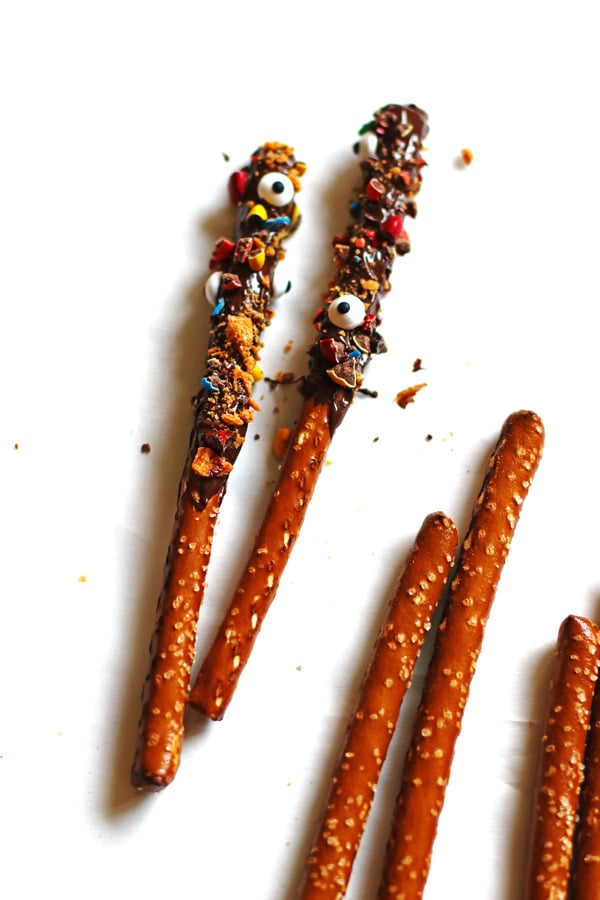
If you love sweet and salty, you will love this recipe! Chocolate covered pretzels are one of my favorites, and salty pretzel rods coated in chocolate are so yummy!
Tips to Make the Best Chocolate Dipped Pretzel Rods
- Suggested candy to use for this recipe: M&M’s, Reese’s Pieces, Heath Bars, and Butterfinger bars. Avoid using candy with caramel,as it is too sticky and will not crush up that well.
- Crush candy before melting the chocolate so that everything is ready to go once the chocolate is melted.
- Use the back of a large spoon or ladle to crush up the candy to get coarsely chopped candy pieces.
- Use parchment paper or foil for easy cleanup. I would suggest covering your work area and the baking sheet.
How to Store Chocolate Pretzel Rods
Once the chocolate has set, store the chocolate covered pretzels in an airtight container at room temperature.
How to Make Christmas Pretzel Rods
To give them as a gift, you can make Christmas Chocolate Covered Pretzel Rods using white chocolate and red, white, and green sprinkles. Then, once cooled, tie the pretzel rods up in a cute bag with ribbon. Pretzel rods are a great alternative to cookies.
How to Make Halloween Pretzel Rods
It’s all about the candy eyes! Use lots of candy eyes, candy, of course, and sprinkles! For Halloween, use orange, purple, green, and black sprinkles.
Looking for More Halloween Recipes that are Both Delicious and Fun?
Try my Halloween Dirt Cake, Candy Corn Snack Mix, and Halloween Witch Hat Calzones.
Another sweet and salty recipe we love to make and is very kid-friendly are these Dark Chocolate Pretzel Granola Bars. They make a nice after-school snack.
Did you make this recipe? If so, please leave a comment and rating below. I love hearing from you.
Chocolate Covered Pretzel Rods
Ingredients
- 4 ounce Bakers Semi-Sweet Chocolate Bar
- Pretzel Rods (I used about 16)
- Candy, crushed (I used M&M’s and Butterfingers)
- Candy eyes, optional
Instructions
- Coarsely crush up candy using the back of a large spoon or ladle. Place each candy into individual bowls and set aside for later.
- Cover baking pan and work area with parchment paper or foil. Set aside.
- Place the chocolate in a microwave safe dish and melt for 30 seconds and stir. If it is not completely melted, heat for an additional 15 second increments until you have a thin consistency. Stir after each time you heat the chocolate.
- Pour the chocolate in a Pyrex measuring container or coffee mug. Dip the pretzels into the chocolate. Turn the pretzel so you get all sides covered with chocolate. (If you need to spread the chocolate down the pretzel more, do that by using the back of a spoon.) Tap off the excess chocolate.
- Holding the chocolate covered pretzel by the end with no chocolate, sprinkle the candy pieces over the chocolate covered pretzel. Turn the pretzel while doing this so that you get each side of the pretzel.
- If using edible eyes, gently press them on while doing the candy.
- Place the pretzels on the prepared baking pan.
- Chill them in your refrigerator for an hour or until the chocolate sets.
- Store the pretzels in an airtight container.
Notes
Nutrition information is approximate and is automatically calculated, so should only be used as a guide.
Update Note: This recipe was originally posted in 2018, but was published again in 2020 to include step-by-step directions and new photos.




Our family made these with some of our leftover candy and our kids loved them. Nice easy recipe!
That is great to hear Keri! Thanks for letting me know.
Jeannie