This post may contain affiliate links. Please read our disclosure policy.
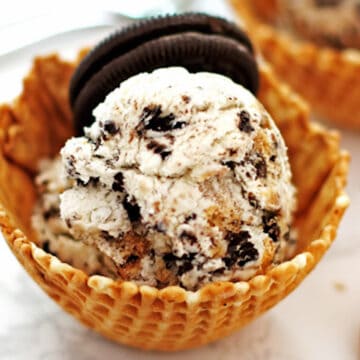
Making No-Churn Cookie Monster Ice Cream could not be easier – no ice cream machine needed. Loaded with cookies and using heavy cream and sweetened condensed milk as a base, the options are limitless.
Do you love ice cream? It is the perfect summer dessert…well, really any season is perfect for a treat like homemade ice cream! This cookie monster ice cream combines my two favorite things – cookies and ice cream – and it is so delicious.
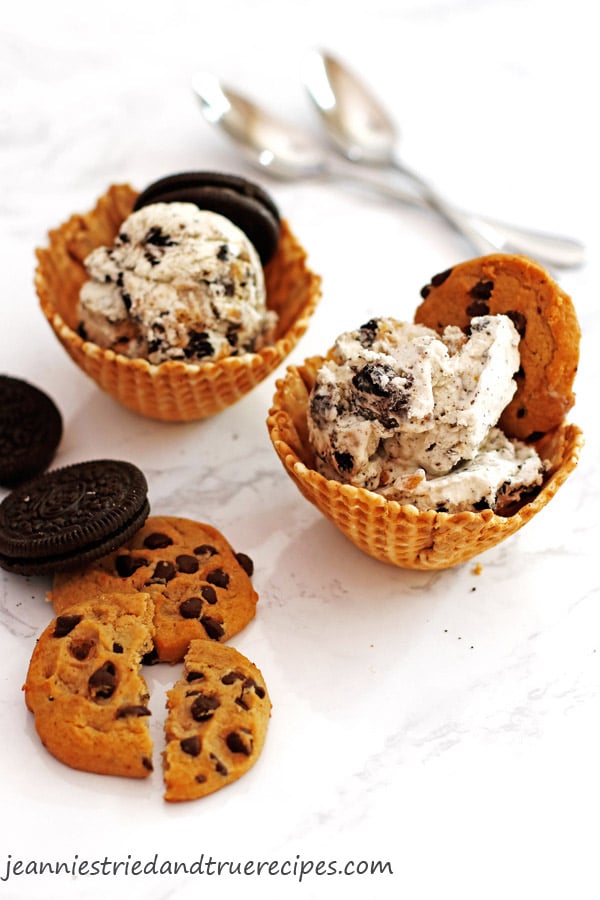
To make the basic vanilla ice cream base, you will only need two ingredients – heavy cream and sweetened condensed milk. If you want to add more flavor or sweetness, the possibilities are endless. Our favorite is this recipe using cookies to make cookie monster ice cream.
Why make Homemade Ice Cream?
- It’s easy to make.
- It only has a few ingredients in it.
- It makes a great summer activity with kids.
- It tastes so good on a warm summer day!
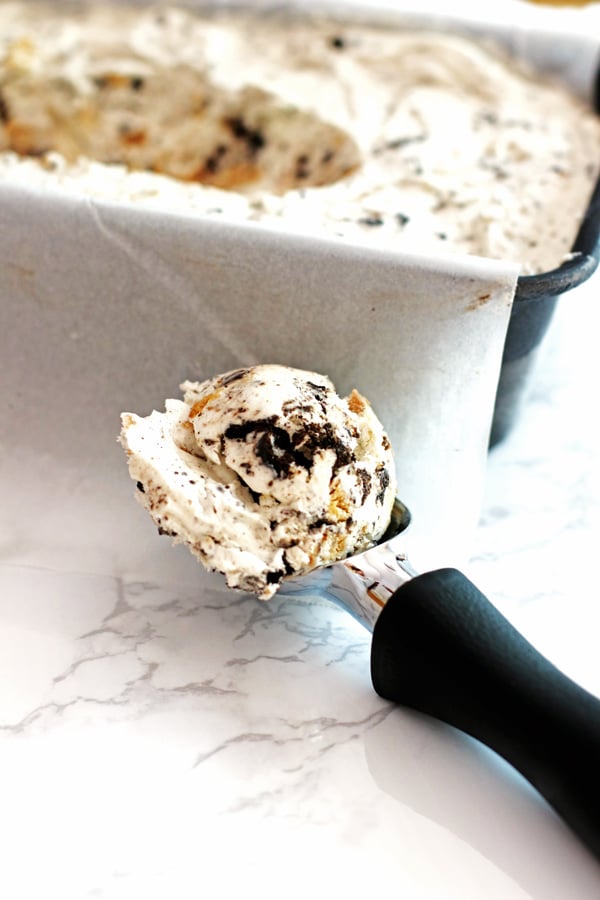
What does “no-churn” mean?
No-Churn means you do not need an ice cream maker to churn the mixture. You will need a mixer with a whisk attachment which is something that you probably already have in your kitchen. You can use a handheld mixer as well – but I like to use my KitchenAid stand mixer.
Ingredient List:
- Heavy Cream
- Sweetened Condensed Milk
- Cookies – Use all of your favorite kinds of cookies. It is COOKIE MONSTER after all!
- Optional – Blue Food Coloring
- Parchment Paper
.
How to make No-Churn Ice Cream:
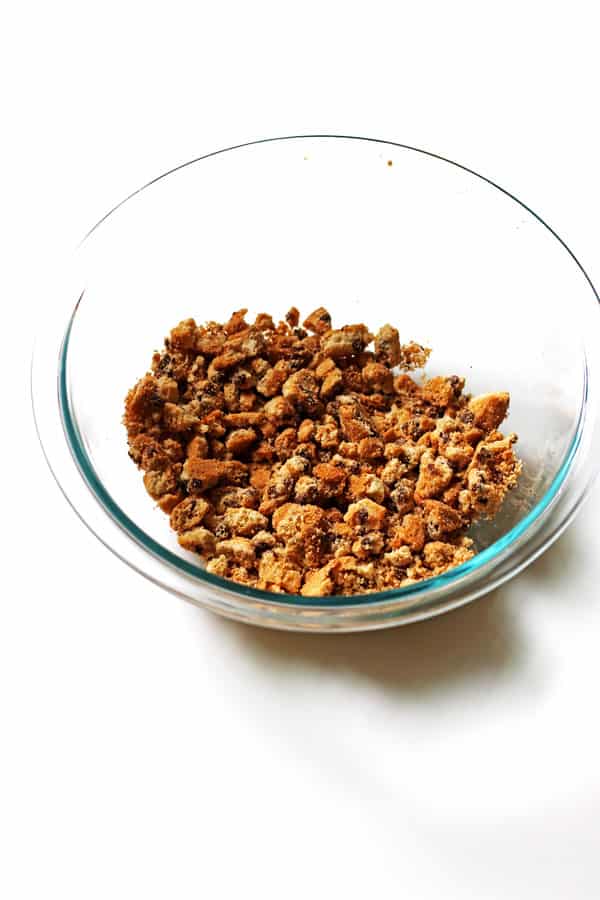
First, coarsely crush eight each of the chocolate sandwich cookies and chocolate chips cookies in a bowl. Set that aside.
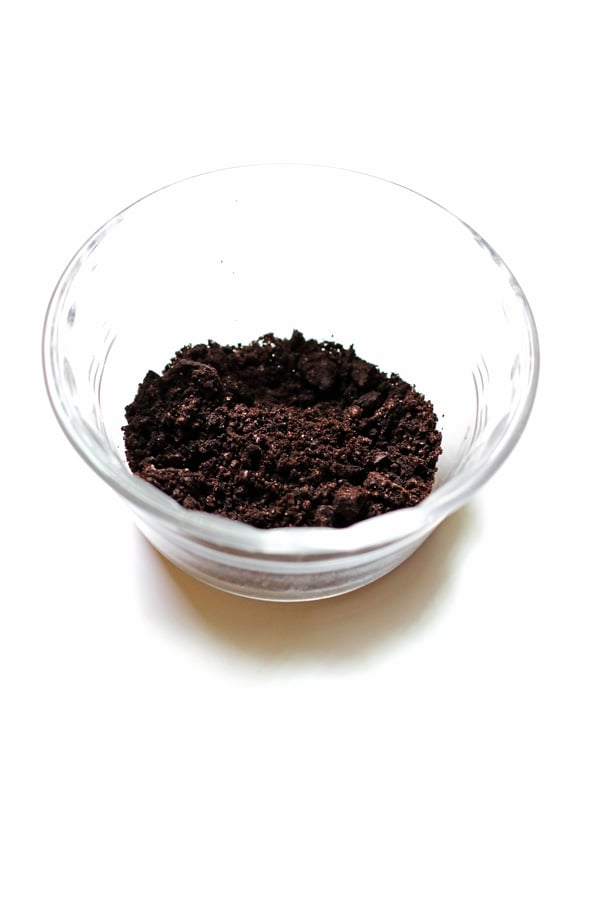
Next, in a bowl, finely crush the remaining two chocolate sandwich cookies. You can use a blender for this or just crush them manually. Set the cookie crumbs aside.
Place the parchment paper in a loaf pan, leaving extra hanging over the sides of the pan. This way you can cover the ice cream with the parchment paper before placing it into your freezer.
Pour the sweetened condensed milk into a large bowl. You want to use a large bowl because all the ingredients will be going into this one. Set that aside.
Next, pour the heavy whipping cream into a mixing bowl. Using your whisk attachment on your mixer, whisk the heavy whipping cream until stiff peaks form (about three minutes).
Fold in one cup of the heavy whipping cream into the sweetened condensed milk. To “fold in”, use a spatula and gently combine the ingredients.
Add in the remaining heaving whipping cream and the finely crushed cookie crumbs. Gently fold in until combined.
Pour half of the cream mixture into your prepared loaf pan. Evenly sprinkle half of the coarsely crushed cookie crumbs over the cream mixture. Repeat this step with the other half of the cream mixture and cookie crumbs.
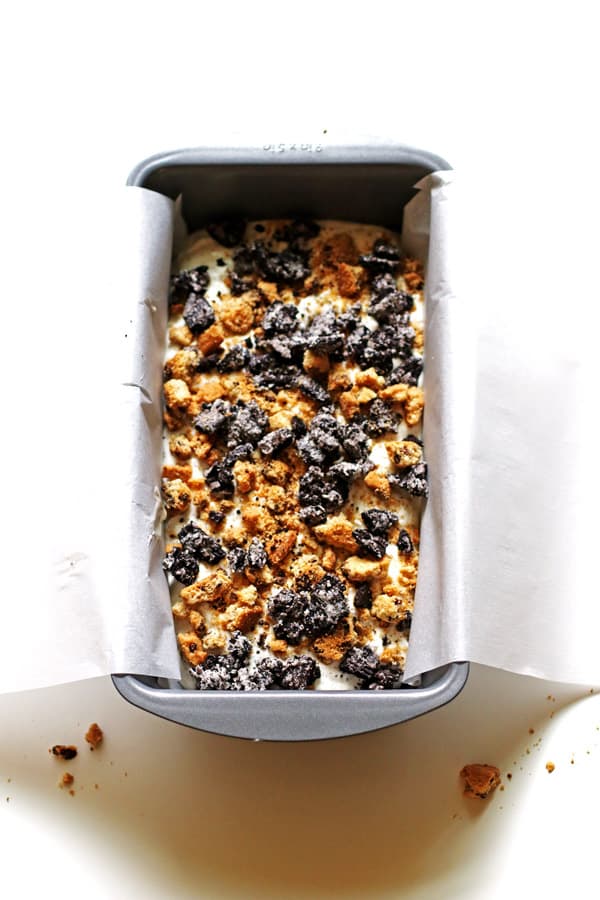
Drag a knife or spatula through the cream mixture to spread out and swirl the cookie pieces.
Fold over the parchment paper to cover the top of the ice cream. You can tape it together to keep it together if you want to do that.
Place in the freezer for six hours.
Serve and enjoy! Remember, C is for Cookie!
The ice cream will keep good in the freezer for up to two weeks.
Another ice cream flavor for you:
A different ice cream idea is to add crushed-up candy to the cream mix. You will follow the recipe to make the cream mixture, leaving out the cookie crumb part. Instead, you add in 2 cups of crushed candy.
Candy Suggestions: you could use M&M’s, Butterfingers, Reese’s Peanut Butter Cups, or Crunch bars to name a few ideas. Pick out 1 to 2 of your favorite candy and add them in! Once you make the basic cream mixture, gently fold in 2 cups of crushed candy.
This idea is not only great for a summer dessert but also perfect to use up some of the extra Halloween Candy! Kids will never say no to ice cream!
Craving more ice cream recipes?
Make my Ice Cream Pie recipe. It is made with chocolate ice cream and strawberries. I love this pie recipe! Perfect for any ice cream lover.
Another super easy dessert recipe is my Eclair Cake. It is a no-bake dessert recipe that works well in the summer. Better to not heat up the house with the oven if we don’t have to, right?!
Recipe Tips:
- You can use a blender to crush up the cookies. Another way to crush them is to place the cookies in a sealed sandwich bag and roll over them with a rolling pin.
- To ‘fold in’ ingredients, use a spatula or large spoon and gently combine the ingredients.
- Drizzle with chocolate syrup for more sweetness!
- Store the ice cream in your freezer for up to two weeks.
- For a different flavor, try replacing the crushed-up cookies with crushed-up candy. Gently fold in two cups of candy pieces once the cream mixture is made and pour into your loaf pan.

Follow me on Pinterest and Instagram for all my recipes.
Did you make this recipe? Let me know in the comment and ratings section below. I love hearing from you!
No-Churn Cookie Monster Ice Cream
Ingredients
- 2 cups heavy whipping cream
- 1 can 14 ounce sweetened condensed milk
- 8 chocolate sandwich cookies coarsely crushed (I used Oreo’s)
- 8 chocolate chip cookies coarsely crushed
- 2 chocolate sandwich cookies finely crushed
Instructions
- Coarsely crush 8 chocolate sandwich cookies and 8 chocolate chip cookies into small pieces. Crush the 2 chocolate sandwich cookies until they are finely chopped in a small bowl. Keep the larger cookie crumbs and finely crushed cookie crumbs in separate bowls and set them aside.
- Place parchment paper in loaf pan. (With extra hanging over the sides to cover the ice cream with later)
- Pour the sweetened condensed milk into a large bowl. Set aside.
- Pour the heavy whipping cream into a mixing bowl. Using your whisk attachment on your mixer, whisk the heavy whipping cream until stiff peaks form (about three minutes).
- Gently fold in about a cup of the heavy whipping cream into the sweetened condensed milk.
- Add in the remaining heavy whipping cream and the finely crushed cookie crumbs and gently fold until combined.
- Pour half of the cream mixture into your prepared loaf pan. Evenly sprinkle half of the larger cookie pieces over the mixture. Repeat this step with the other half of the mixture and cookie crumbs.
- Drag a knife or spatula through the cream mixture to spread out the cookie pieces.
- Fold over the parchment paper to cover the top. (I use masking tape to keep it together.)
- Freeze six hours.
- Ice cream will keep good in freezer for up to two weeks.
Notes
Nutrition information is approximate and is automatically calculated, so should only be used as a guide.
Update Note: This recipe was originally posted in 2016, but was published again in 2022 to include step-by-step directions and new photos.





Making your own ice cream couldn’t be easier. I love this recipe. I am going to try a candy lovers one. Maybe some M&Ms and Butterfingers. Both of my kids cannot wait to try it out.
I agree Tiffani! So happy to hear you love the recipe.
Jeannie