This post may contain affiliate links. Please read our disclosure policy.
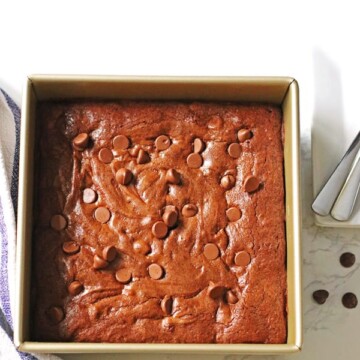
These Homemade Brownies are so delicious and easy to make… you will love them! They might just be the best brownie you have ever had.
I love making things from scratch – homemade banana bread, homemade chocolate chip cookies, mixed berry muffins, homemade trail mix, and even homemade pizza – so I knew we would love homemade brownies.
Have you ever made homemade brownies before? I used always make them from a box recipe, but then I just didn’t care for the flavor of them anymore, so I wanted to try making them from scratch. I wanted to find a brownie recipe from scratch that was simple and easy to make.
Not only do I want a simple recipe when making them from scratch but also simple ingredients that go into the brownies. That is really important to me. Some of those box brownies have such a long list of ingredients, with some we can’t pronounce!
This brownie recipe is what I like…simple ingredients and easy directions to making a delicious brownie. This is the go-to brownie recipe I use every time now when someone asks me to make brownies.
Ingredients
- Unsalted butter
- Semi-sweet Baking Chocolate
- Sugar
- Eggs
- Vanilla Extract
- All-Purpose Flour
- Salt
- Chocolate Chips
You probably have most of these ingredients in your house right now. Once you make them, your house will be filled with the lovely aroma of brownies baking in the oven!
How to Make Homemade Brownies
To start, preheat your oven to 350°F and adjust your baking rack to the lower third position in your oven. You will need an 8″ x 8″ non-stick baking pan to make these brownies.
I use a non-stick pan for the recipe. If you do not have a non-stick pan, then grease the sides and bottom of your pan with butter or line it with parchment paper so that the brownies come out easier.
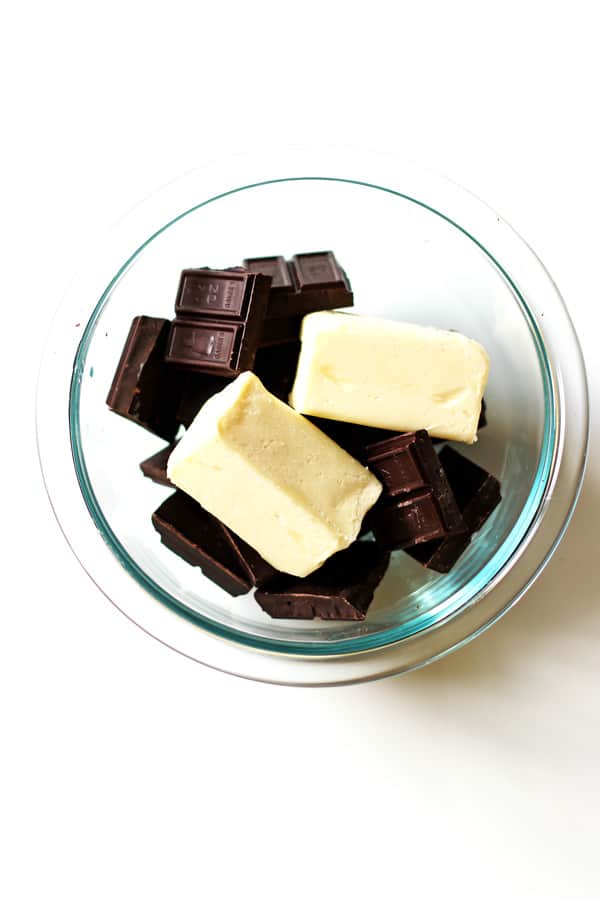
Break the baking chocolate into smaller pieces and place them into a microwave-safe bowl with the butter.
Melt the butter and baking chocolate pieces in the microwave for 30 seconds and then stir. Heat for an additional 30 seconds and stir.
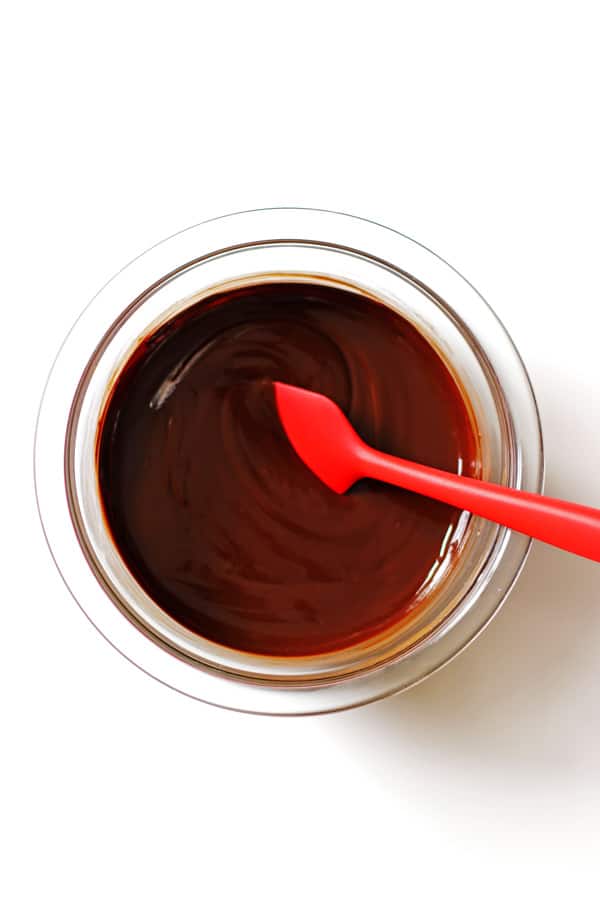
If more time is needed to melt the chocolate and butter, then do 10 second increments, stirring after each one. Do that until the chocolate and butter are melted and smooth.
Pour that into a large mixing bowl, scraping the sides, and let that sit for about five minutes to cool slightly. Then add in the eggs, one at a time, whisking after each one until they are well blended. Whisk in the vanilla extract.

Add in the sugar and whisk into the chocolate mixture. Slowly add the flour and salt. When adding in the flour, add in a little at a time, stirring with a large spoon or spatula after each addition.
Gently stir in the chocolate chips until mixed into the brownie batter.
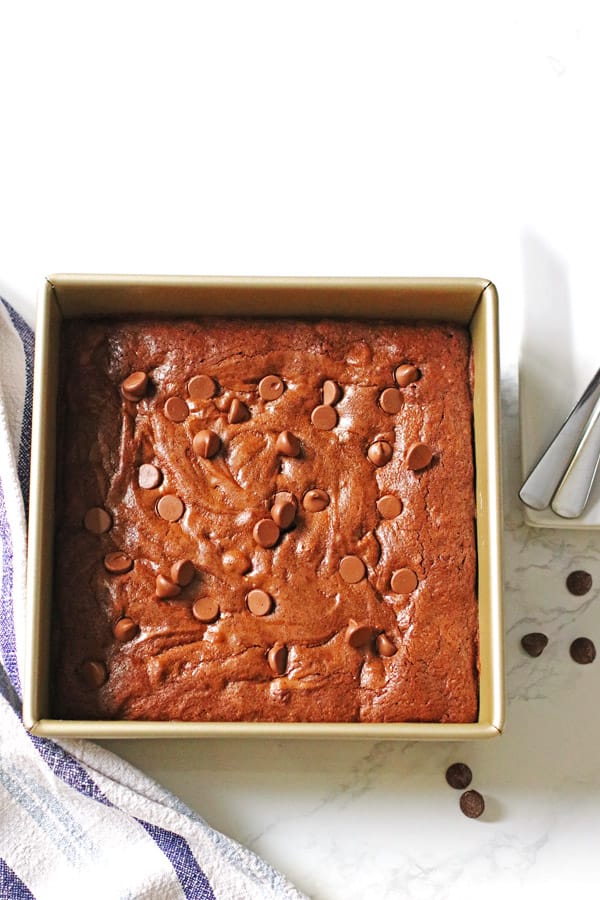
Pour the batter into your pan and spread it out evenly.
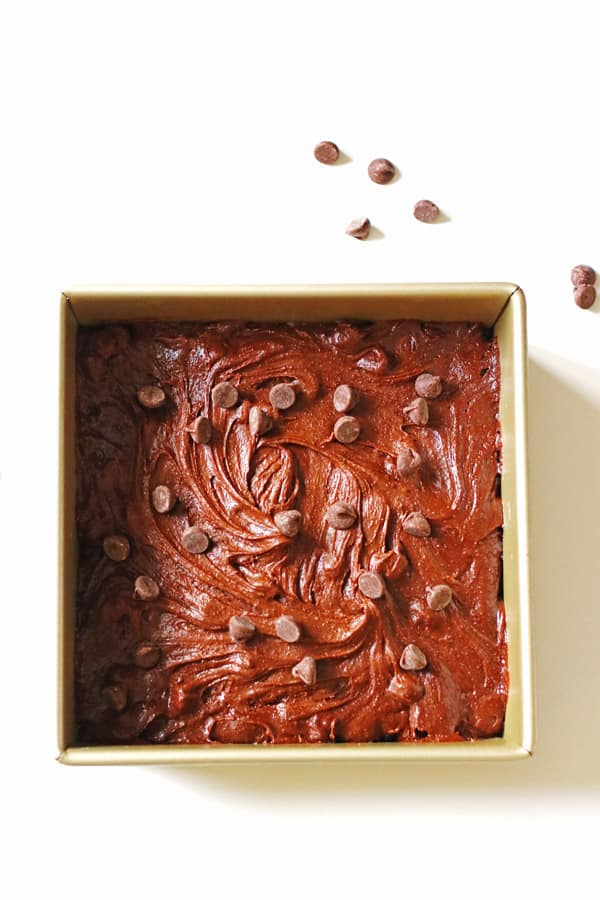
Want to add more chocolate to your brownies? Sprinkle some chocolate chips over the brownie batter before baking in the oven.
Bake for 38-40 minutes. You can tell they are done by inserting a toothpick in the center of the brownies. If it comes out clean, they are done! You might see a couple of crumbs, but that is okay.

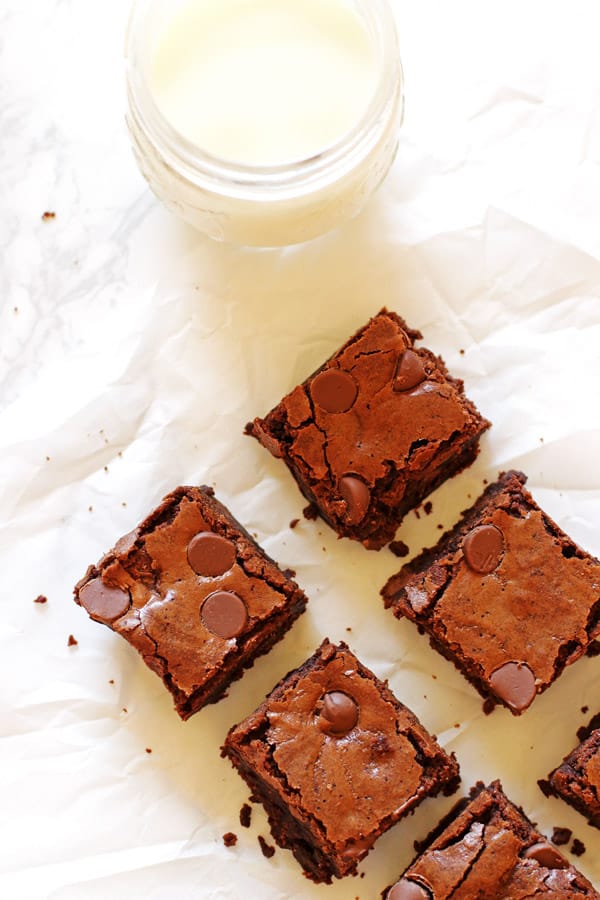
Let them completely cool before you cut them into squares. Once cooled, enjoy them with a nice tall glass of cold milk or your favorite beverage!
Homemade Brownie Tips and Tricks
- When melting the chocolate and butter, make sure to stir after each time you heat them in the microwave. When you stir the ingredients, they will soften up and dissolve a little quicker.
- Let the brownies cool completely before cutting them. If you cut brownies when they are warm, they will stick to your knife or cutting utensil. Trust me, wait until they cool for much prettier-looking brownies.
- I like to use a thin spatula to cut the brownies. Just use the edge of the spatula and slice straight down several times to make a straight line down the brownies in the pan. The brownies will stick less this way over using a knife.
How to Store Brownies
Store cut brownie squares in the pan covered tightly or in an airtight container at room temperature for up to one week.
They are the best when fresh, within the first 2-3 days. You can also freeze them in a freezer-safe container for up to 3 months.
Brownie Variations
Want to jazz up your brownies a little? Some yummy add-ins to the brownies would be chopped nuts, marshmallows, or even chopped peppermint candy. Just add 1/2 to 1 cup of the ingredient you prefer to the batter when you add in the chocolate chips.
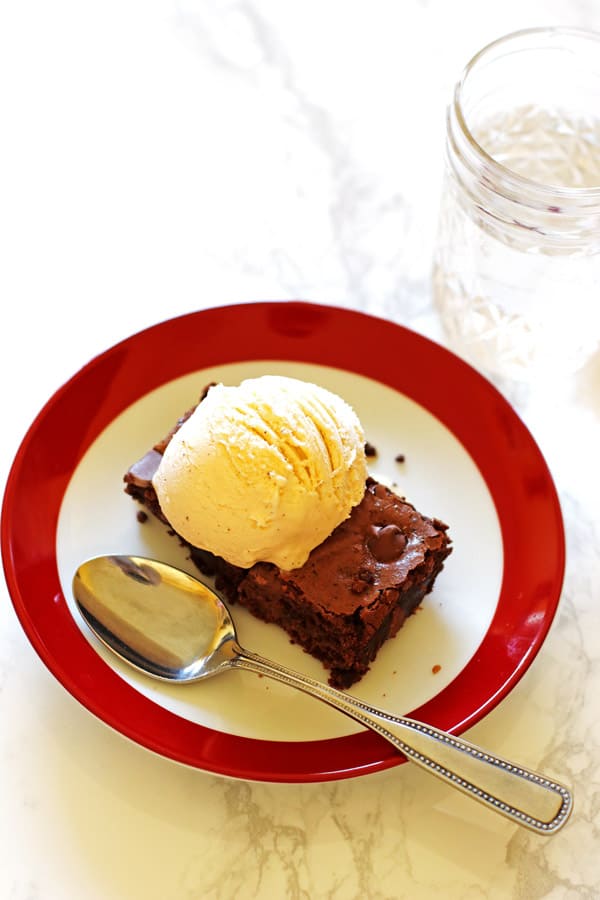
Brownie Sundae, anyone? Add a scoop of your favorite ice cream on top of the brownie, and you have yourself a delicious brownie sundae!
How to Make Halloween Brownies
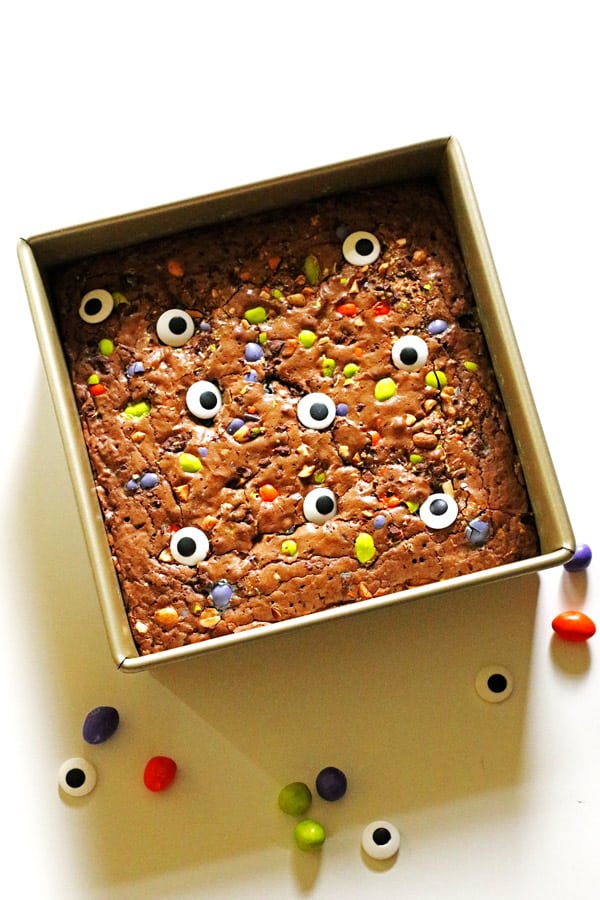
Brownies make a great dessert since they are easy to make, and most people can’t say no to a brownie! To make them festive for Halloween, replace the chocolate chips with crushed-up festive-colored M&M’s.
To crush up the M&M’s:
Measure out one cup of festive colored M&M’s and place them in a bowl.
When I crush them, I use the back of my ladle to gently press down on a small amount of M&M’s at a time. Pretty fancy, right?! This way, I can control the size of the M&M pieces. I like to keep some on the bigger side to have more color in the mix.
You can also use your blender to crush up the M&M’s. Just watch the M&M’s as you crush them with the blender so that you stop before they are crushed up so small that you won’t see the festive color of the candy.
Add a half cup of the crushed M&M candies to the brownie mix, and then sprinkle the rest evenly over the top of the brownies.
Want them to look more festive for Halloween?
If you want them to look even more spooky for Halloween, you can add some edible candy eyes. If you add the eyes, add them when the brownies are just out of the oven while the brownies are soft. Gently press them down on top of the brownies.
These brownies would make a fun treat to send in for Halloween parties at school. You could also do this after Halloween using up some of your kids’ candy. You could use M&M’s, Reese’s Pieces, or any other candy that your family loves. Candy Eyes are essential!
April Fool’s Day Brownies
In our house, we all like to try and get each other with the best April Fools jokes…and this one is a great one I will share with you. It is so easy and simple to do. It includes this recipe for delicious brownies, but the joke is the brown E’s…
I would love it if you would follow me on Instagram and Pinterest for all of my recipes.
What you need for this fun April Fool’s Day joke:
- These delicious brownies
- Brown construction paper
- Scissors
- Markers (optional)
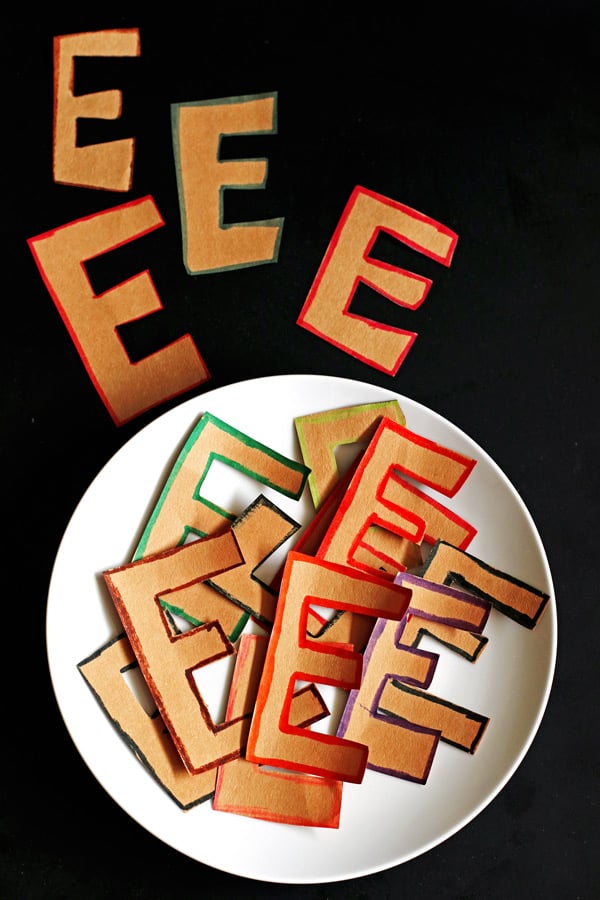
How to Make Brown-E’s
Cut out several letter E’s using the brown construction paper. (If you want to jazz up the “brown E’s, use colorful markers to add color along the edges.)
Place the brown E’s on a plate and set them aside until you have someone to play the joke on! Ask them if they would like some “brown E’s”. When they say yes, show them the plate of paper brown E’s!
After you get them with the joke, show them the plate of the real homemade brownies ready for them! So simple and so much fun!
Looking for more great dessert recipes?
Here are a few great ones to try…Jumbo S’mores Cookies, No Churn Cookie Monster Ice Cream, and Banana Chocolate Chip Muffins
Did you make this recipe? If so, please leave a comment and rating below. I love hearing from you.
Homemade Brownies
Ingredients
- ½ cup unsalted butter one stick
- 8 ounces semi-sweet baking chocolate broken into small squares
- 1 cup granulated sugar
- 3 eggs cold
- 1 teaspoon vanilla extract
- ¾ cup all-purpose flour
- ½ teaspoon salt
- 1 cup semisweet chocolate chips (additional chocolate chips needed if you are going to sprinkle some over the top of the brownie batter, optional)
Instructions
- Adjust your oven rack to the lower third position and preheat your oven to 350°F.
- If your pan is not a non-stick pan, line your 8 x 8 baking dish with foil or parchment paper, leaving a little extra hanging over the sides.
- Break the baking chocolate into small pieces. Melt the butter with the baking chocolate in a microwave-safe bowl. Heat for 30 seconds and stir. Heat for an additional 30 seconds and stir. If more time is needed to melt the ingredients, then do additional 10 second increments, stirring after each one, until the chocolate mixture is melted and smooth. Let it sit for about 10 minutes to cool a little.½ cup unsalted butter, 8 ounces semi-sweet baking chocolate
- Once the chocolate and butter mixture is slightly cooled, pour it into a large mixing bowl.
- Add in the eggs, one at a time, whisking after each one, until they are well blended. Whisk in the vanilla extract. Whisk in the sugar.3 eggs, 1 teaspoon vanilla extract, 1 cup granulated sugar
- Slowly add in the flour and salt. Add a little flour in at a time.¾ cup all-purpose flour, ½ teaspoon salt
- Gently fold in the chocolate chips.Sprinkle some extra chocolate chips over the top of the brownies. (optional)1 cup semisweet chocolate chips
- Pour into the prepared pan and spread it out evenly. Bake 38-40 minutes. The brownies are done when a toothpick comes out clean (a few crumbs are okay).
- Cool completely before removing from the pan. Slice into squares. If using foil or parchment paper, lift the brownies out of the pan using the edges of foil/parchment paper. Remove the foil/parchment paper and cut the brownies.
- The brownies will stay fresh if stored in an airtight container up to one week.
Notes
- I like to use a thin spatula to cut the brownies. Just use the edge of the spatula and slice straight down several times to make a straight line down the brownies in the pan. The brownies will stick less this way over using a knife.
- Best way to store the brownies? Store cut brownie squares in the pan covered tightly or in an airtight container at room temperature for up to one week. They are the best when freshest, the first 2-3 days. You can also freeze them in a freezer-safe container for up to 3 months.
- Want to jazz up your brownies a little? Some yummy add-ins to the brownies would be chopped nuts, marshmallows, or even chopped peppermint candy. Just add 1/2 to 1 cup of the ingredient you prefer to the batter when you add in the chocolate chips.
- Brownie Sundae anyone? Add a scoop of your favorite ice cream on top of the brownie, and you have yourself a delicious brownie sundae!
Special Equipment Needeed
- 8" x 8" non-stick baking pan
- mixing bowls
Nutrition
Nutrition information is approximate and is automatically calculated, so should only be used as a guide.
Update Note: This recipe was originally posted in 2018, but was published again in 2020 to include step by step directions and new photos.


Loved this April Fools Day joke idea. I’m going to try it on my kids! The brownies look amazing!
Hi Ashley! So glad you are going to try it! Hope they love it!
Jeannie
These are so chocolatey. I am not sure if that is even a word but they were so god. I like the extra chocolate chips. I think I may try caramel or butterscotch chips next time. Thanks Jeannie for sharing.
I think that is a great word to describe them Sandra! Caramel or butterscotch chips sounds like a great idea!
Jeannie